The Discharge Problem No One Thinks About
The symptoms of a bad sump discharge setup look like this:
The sump pump kicks on but water keeps coming back into the pit
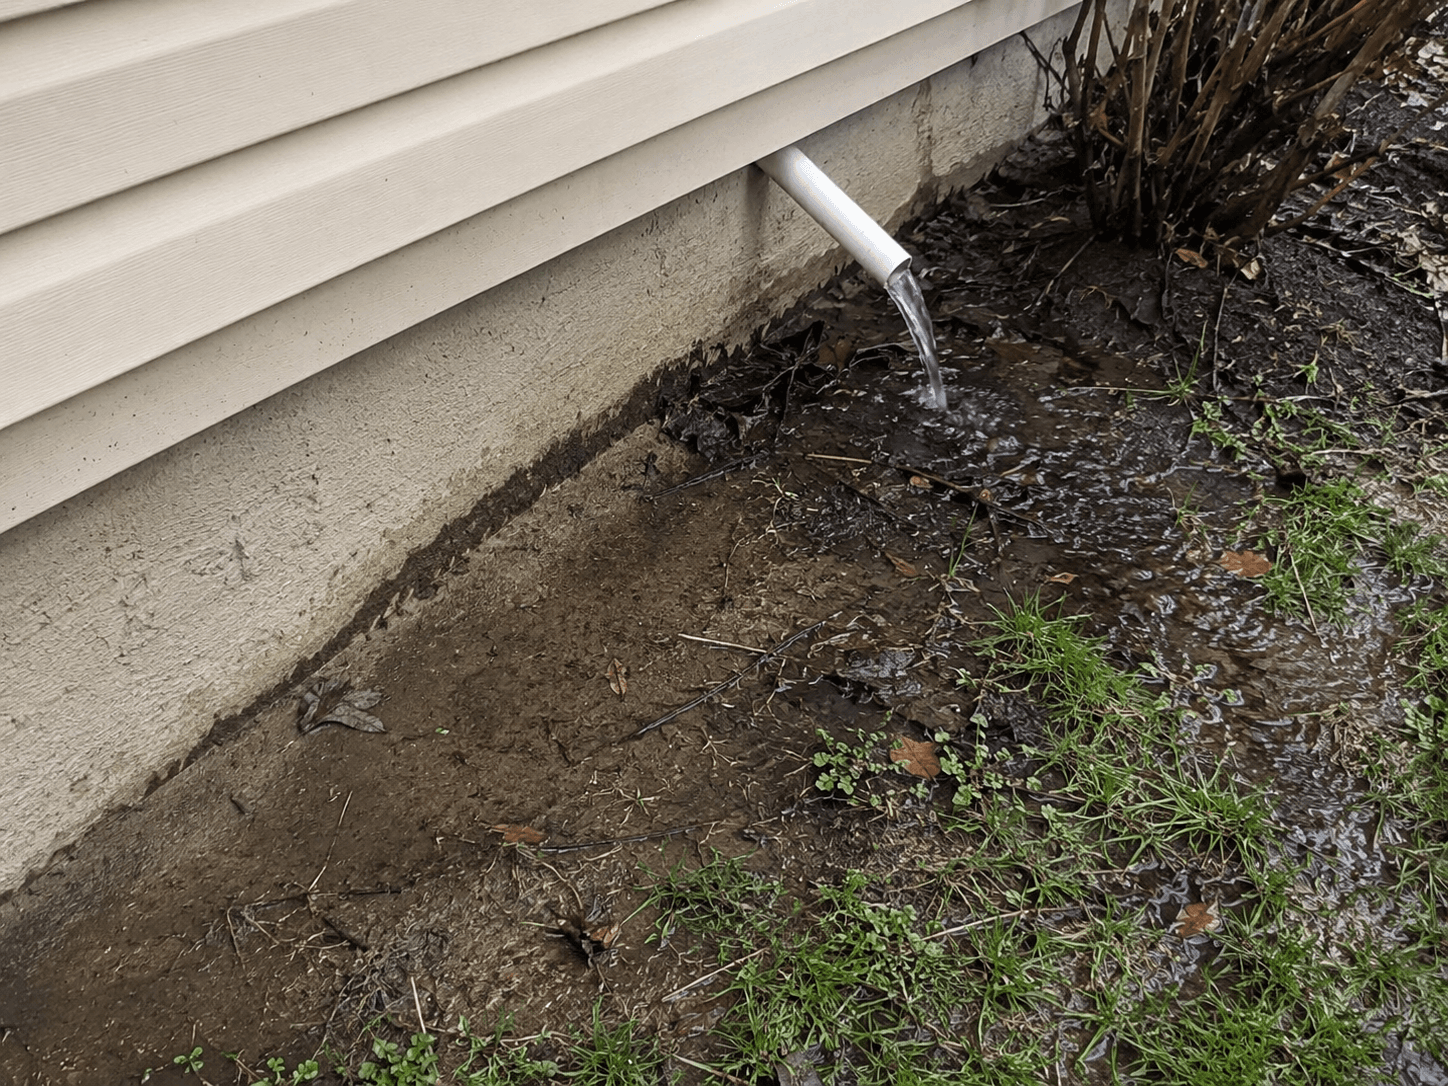
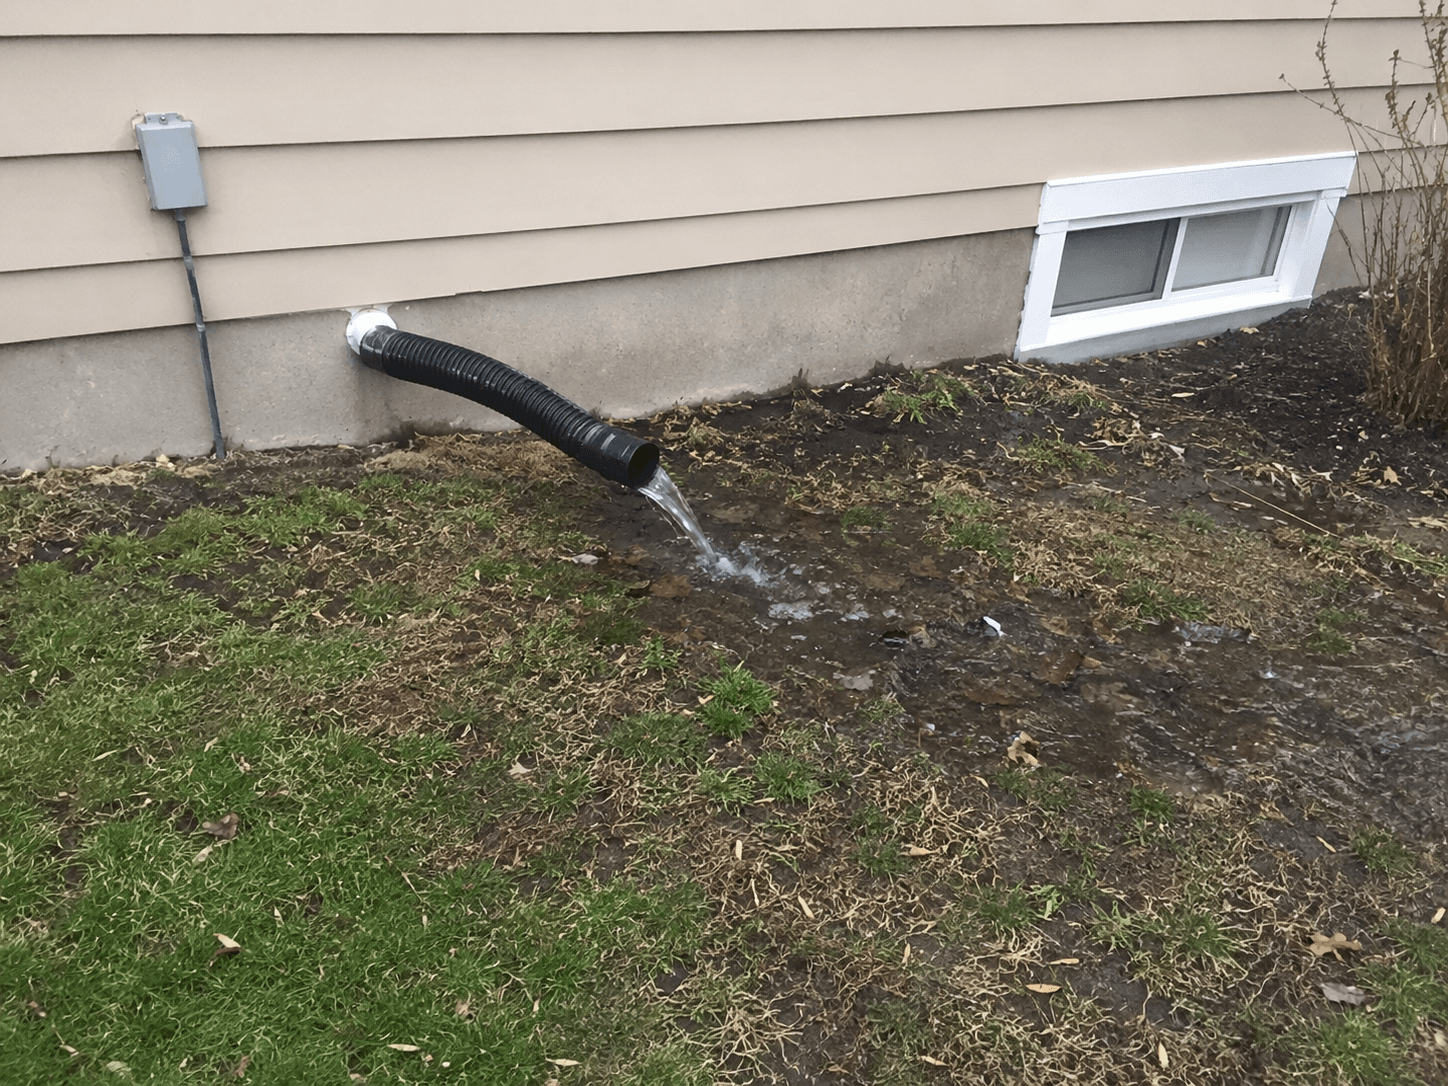
There's a wet spot, mud, or erosion right where the discharge hose ends
The discharge hose has been kicked, frozen, run over, or moved repeatedly
Water flows from the discharge point straight back to the foundation
The yard area near the sump discharge stays soggy or has dying grass
A flexible black extension keeps cracking or disconnecting from the pipe
Discharge water is running across hardscape, walkways, or into a neighbor's yard
If the sump is running but the basement is still humid or water keeps reappearing, the problem isn't the pump. It's where the water goes after the pump.
What's On This Page
Why Sump Discharge Matters
Why Most Sump Pumps Recycle Their Own Water
Most houses come with a sump pump discharge that exits the foundation and dumps water within a foot or two of the house. That setup looks fine when you're standing in the basement watching the pump kick on, but here's what's actually happening:
The pump moves water out of the pit. The water lands in the soil right next to the foundation. The soil saturates. The water seeps back down through the soil and ends up back in the drain tile around the foundation. The drain tile carries it back to the sump pit. The pump kicks on again.
We call this the sump pump death loop, and it's surprisingly common. The pump is doing its job. The water is just being pumped in a circle.
The problem compounds in Nebraska clay soil because clay doesn't absorb water quickly. The discharge water sits at the foundation, has nowhere to go, and the cycle accelerates. Pumps that should run a few times a day end up running every fifteen minutes during wet weather. That kills the pump fast, runs up the electric bill, and floods the basement when the pump finally gives out.
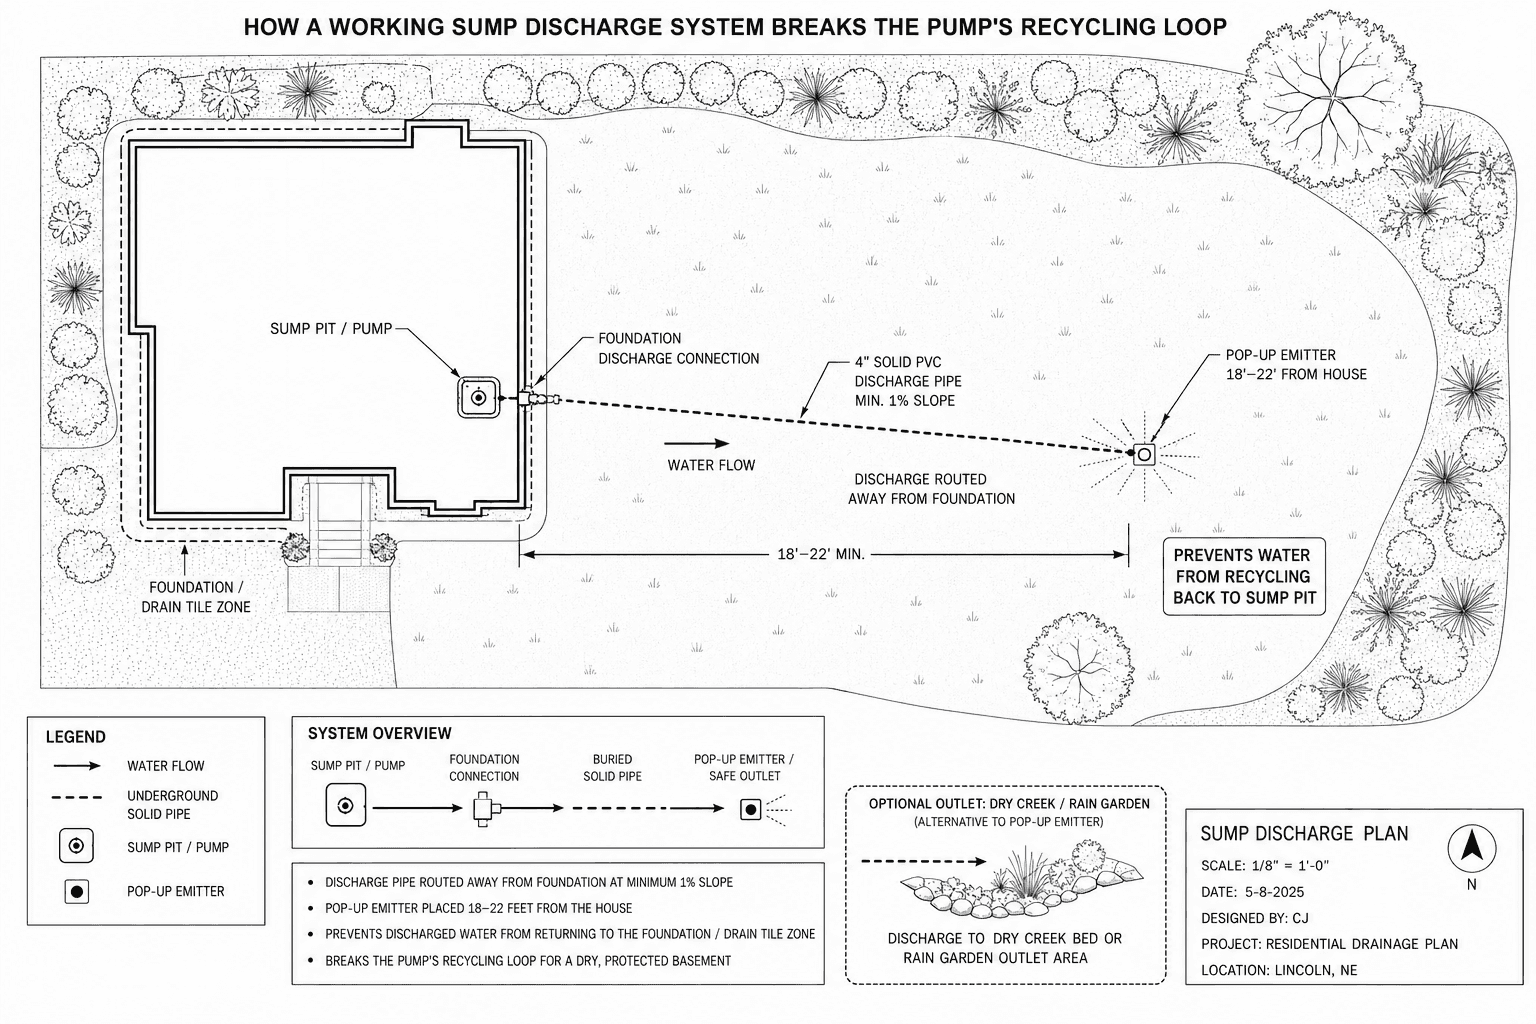
Proper sump pump discharge breaks the cycle. Get the water at least 10 to 20 feet away from the house, into a place where it can either soak in slowly (a rain garden), drain off the property (a daylight outlet), or distribute into a dry creek bed or pop-up emitter. The pump runs less, the basement stays dry, and the foundation stops getting saturated.
How a Proper Discharge System Works
The Anatomy of Working Sump Discharge
A real sump discharge system isn't complicated, but every piece matters because the pump runs hundreds of cycles a year and any weak link fails fast.
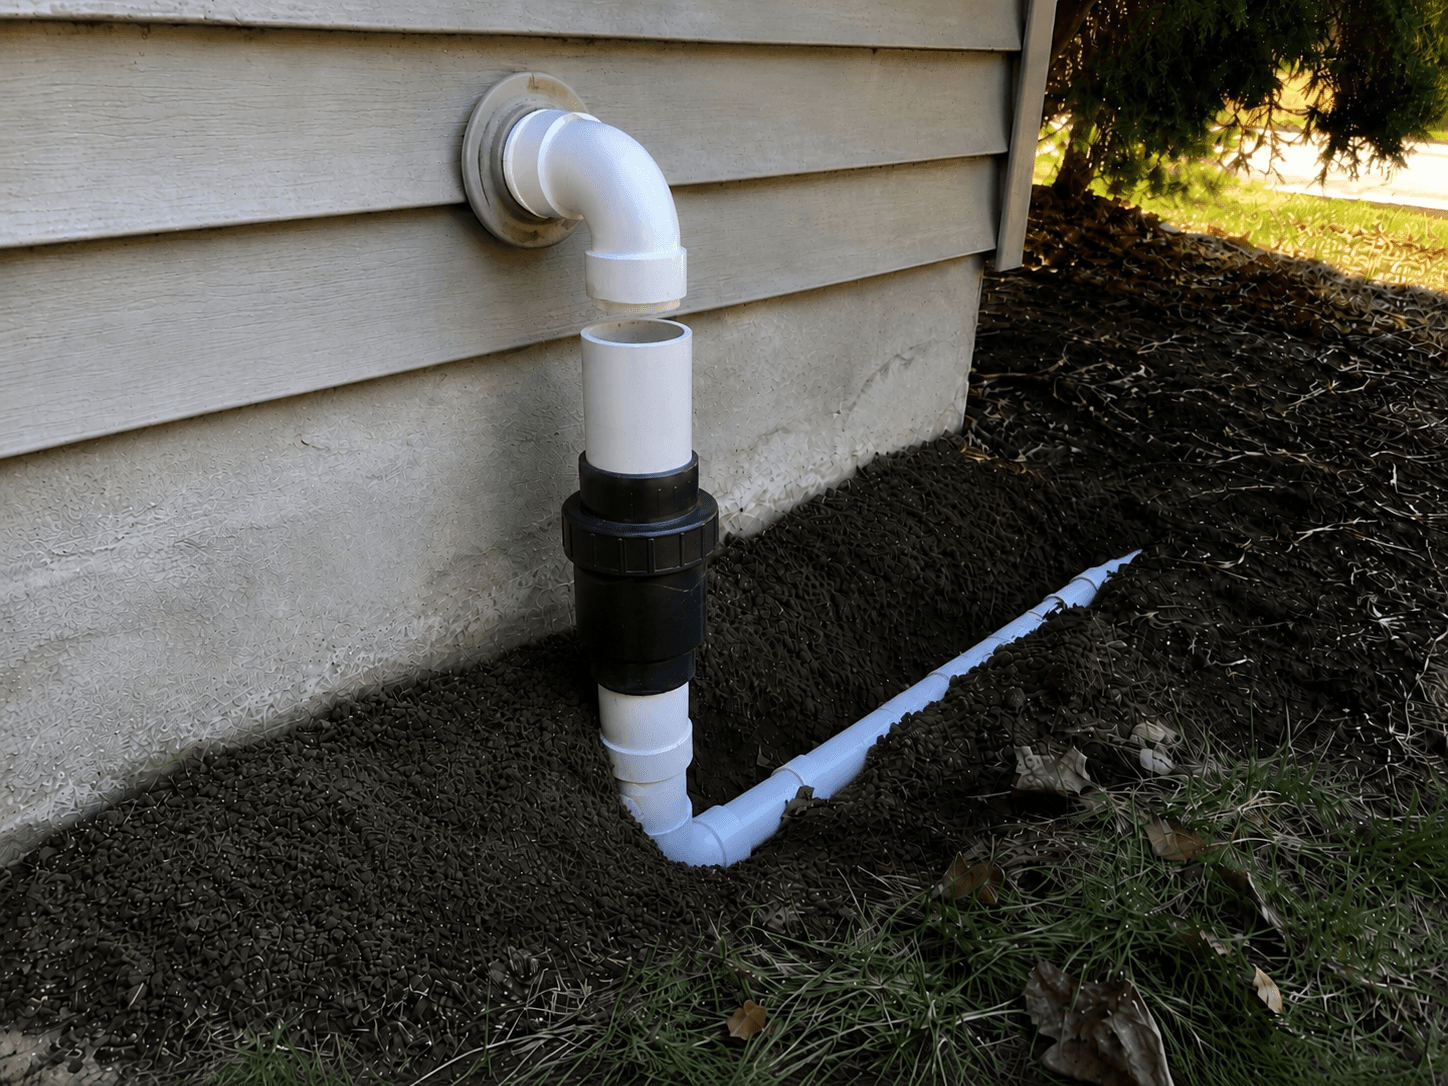
The pipe connection at the house. Where the existing PVC discharge pipe exits the wall and transitions into the buried line. We use a solid, sealed connection with a backflow check valve so water can't run back into the pit.
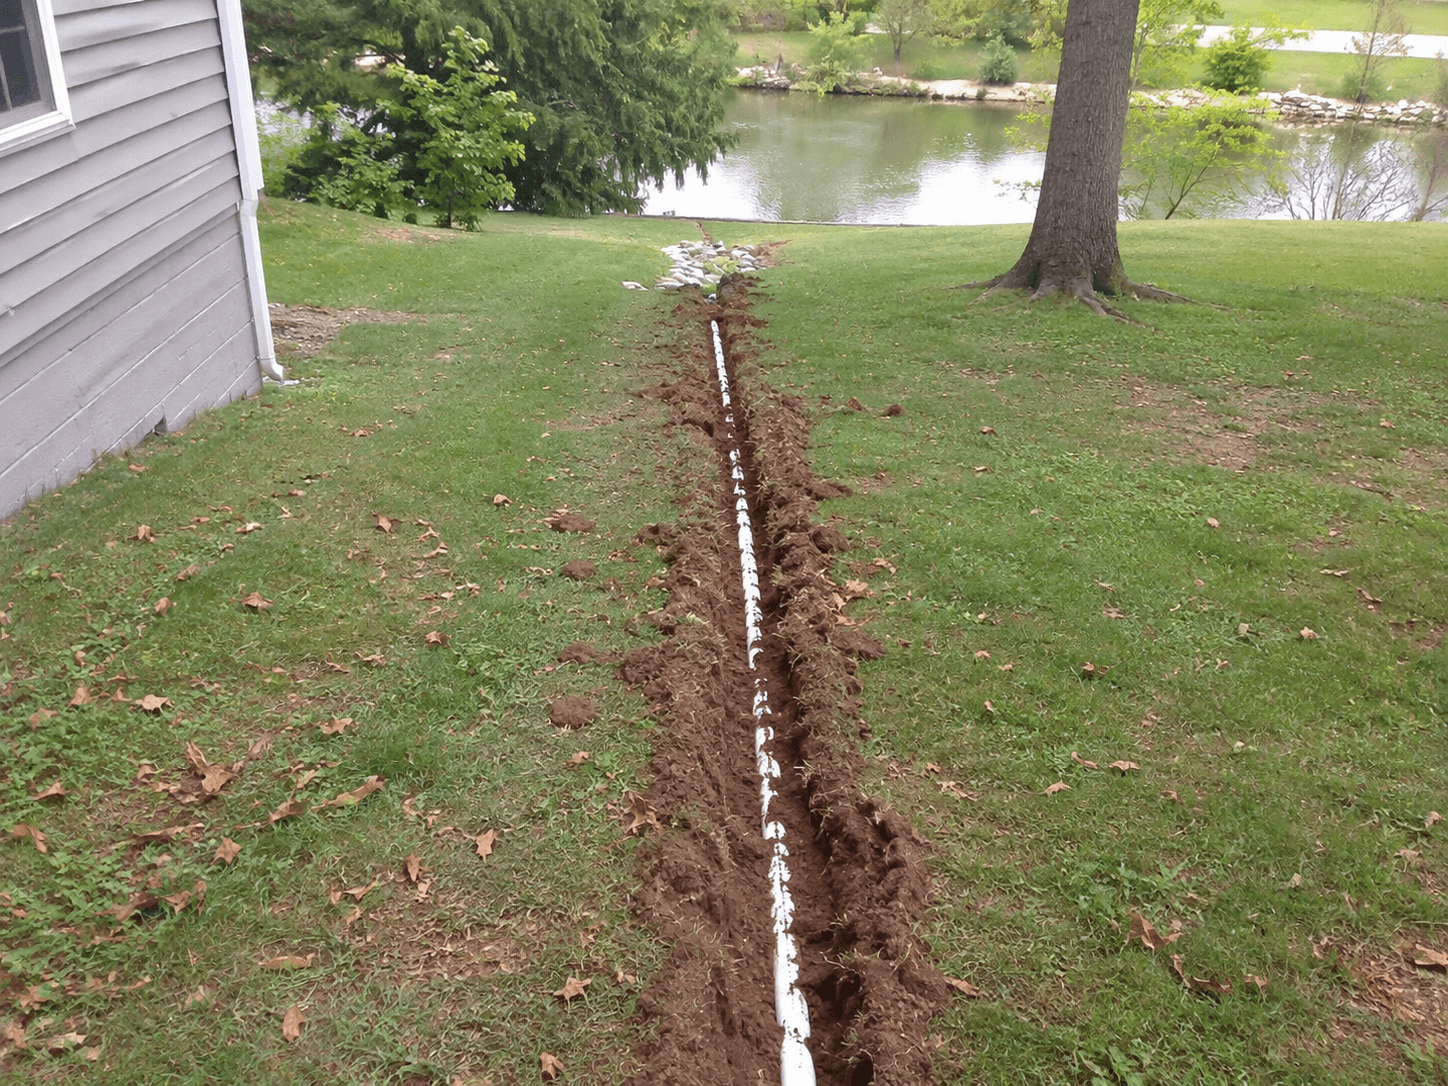
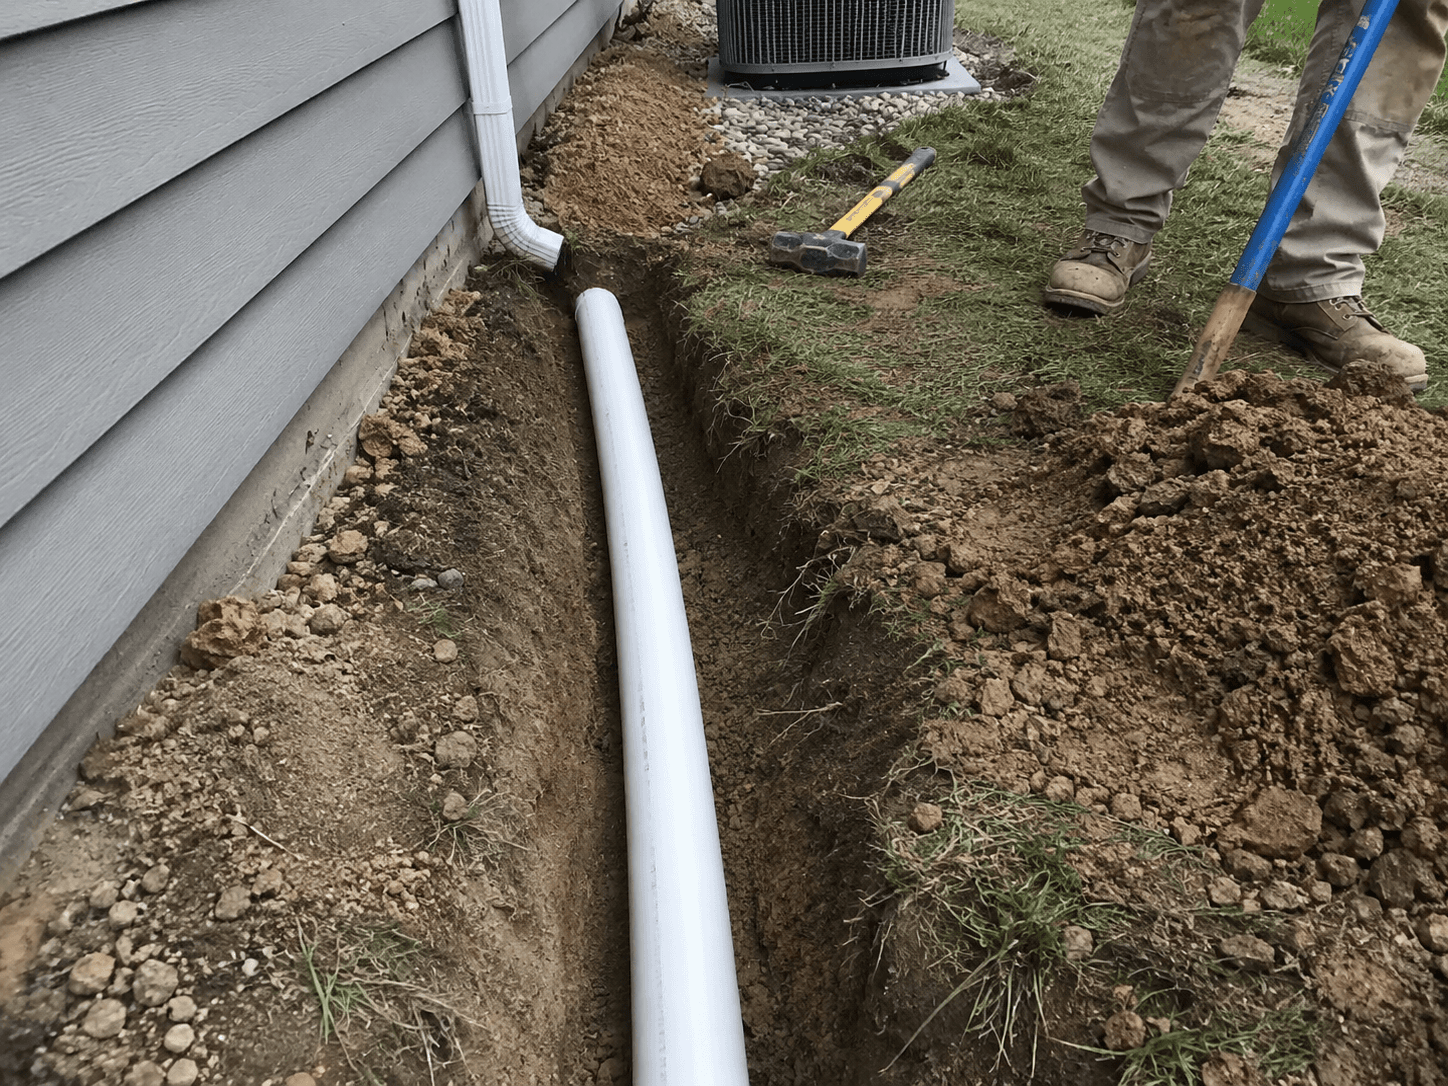
The buried solid pipe. Solid (not perforated) PVC or heavy-wall corrugated pipe, buried deep enough to clear the frost line at the foundation and run on consistent downhill slope to the outlet. Solid pipe is critical, perforated would let pump water leak back into the foundation soil.
The freeze protection. In Nebraska winters, an unprotected discharge line can freeze and lock up the entire system. We design every install with freeze protection in mind, deeper burial, downward slope to keep water from sitting in the pipe, and outlets that don't trap water at the discharge end.
The outlet. Where the water actually exits the system. Same options as other drainage solutions: a pop-up emitter for hidden discharge, a dry creek bed for visible discharge that doubles as a feature, a rain garden for environmentally friendly absorption, or a daylight outlet on a slope.
Distance from the house. The whole point is to get the discharge far enough from the foundation that the water can't soak back in and return to the sump pit. Minimum 10 feet for the discharge point, often more on flat lots.
The difference between a sump pump discharge system that works and one that doesn't usually comes down to two things: distance from the foundation and freeze protection.
Where We Route Sump Discharge
Best Routing Options for Sump Discharge
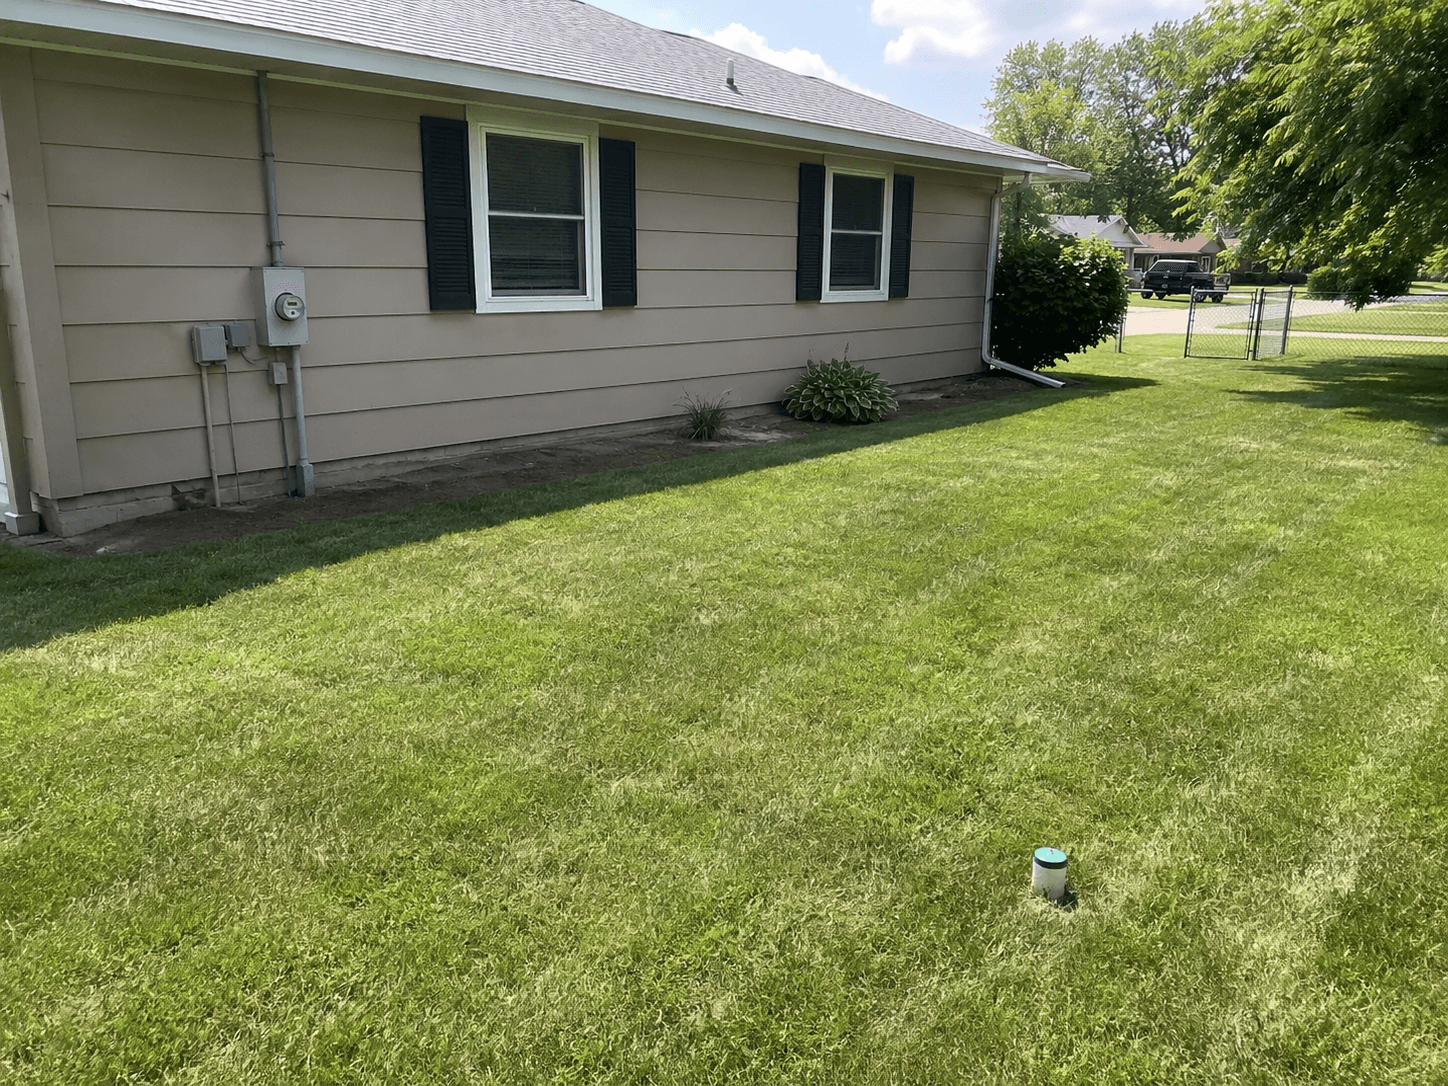
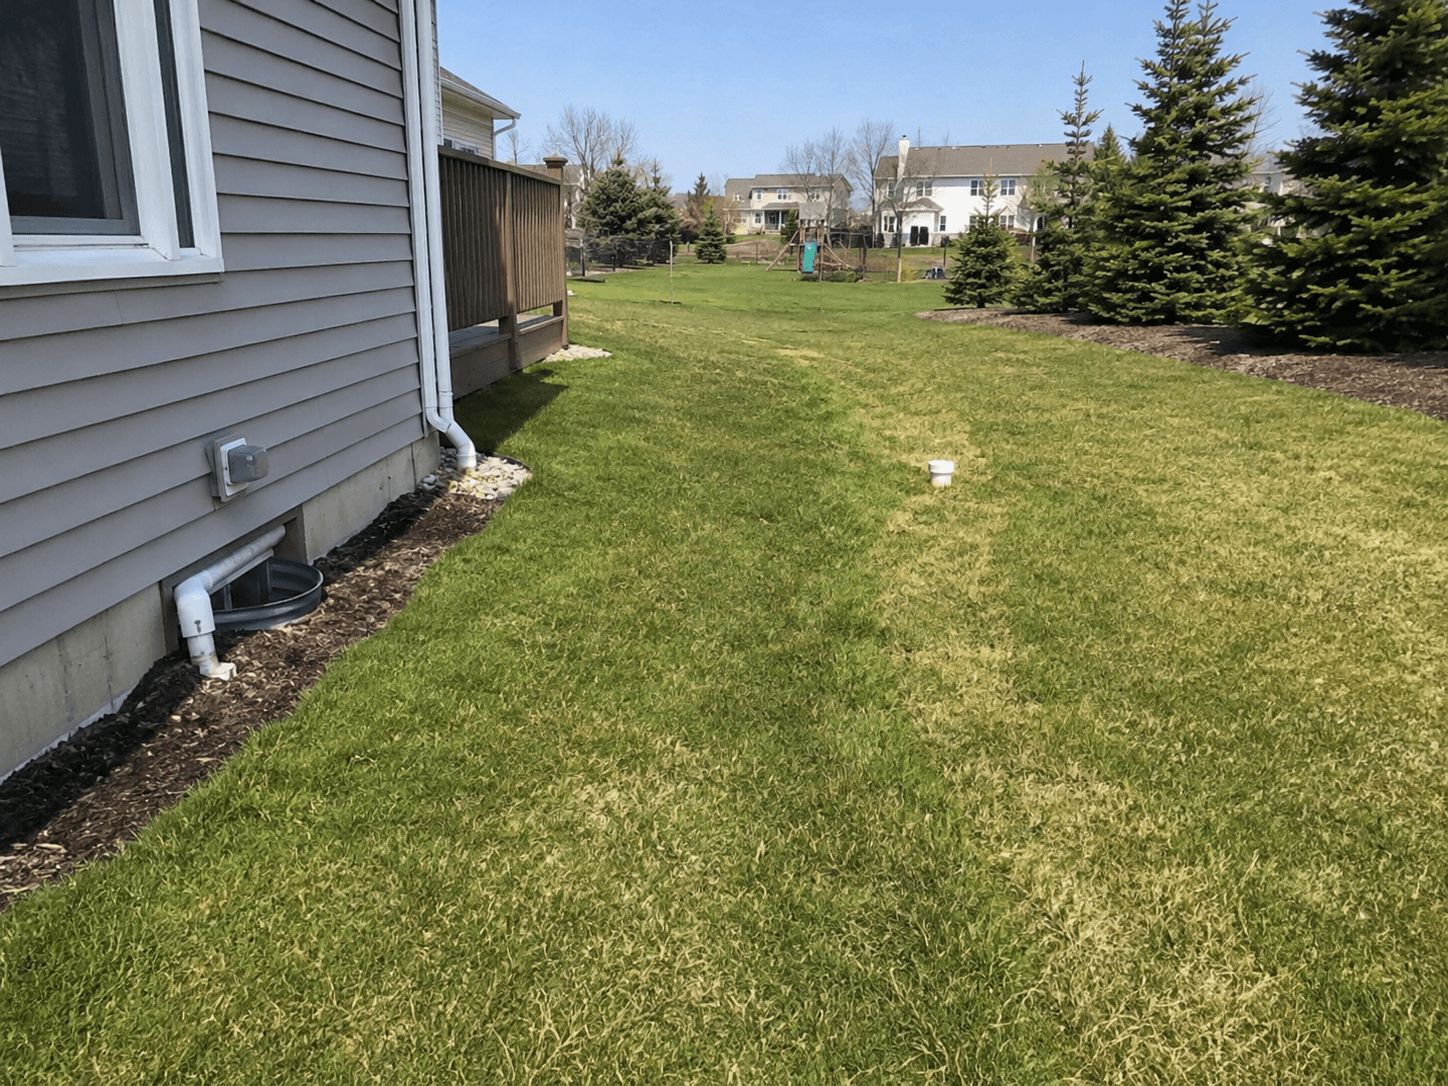
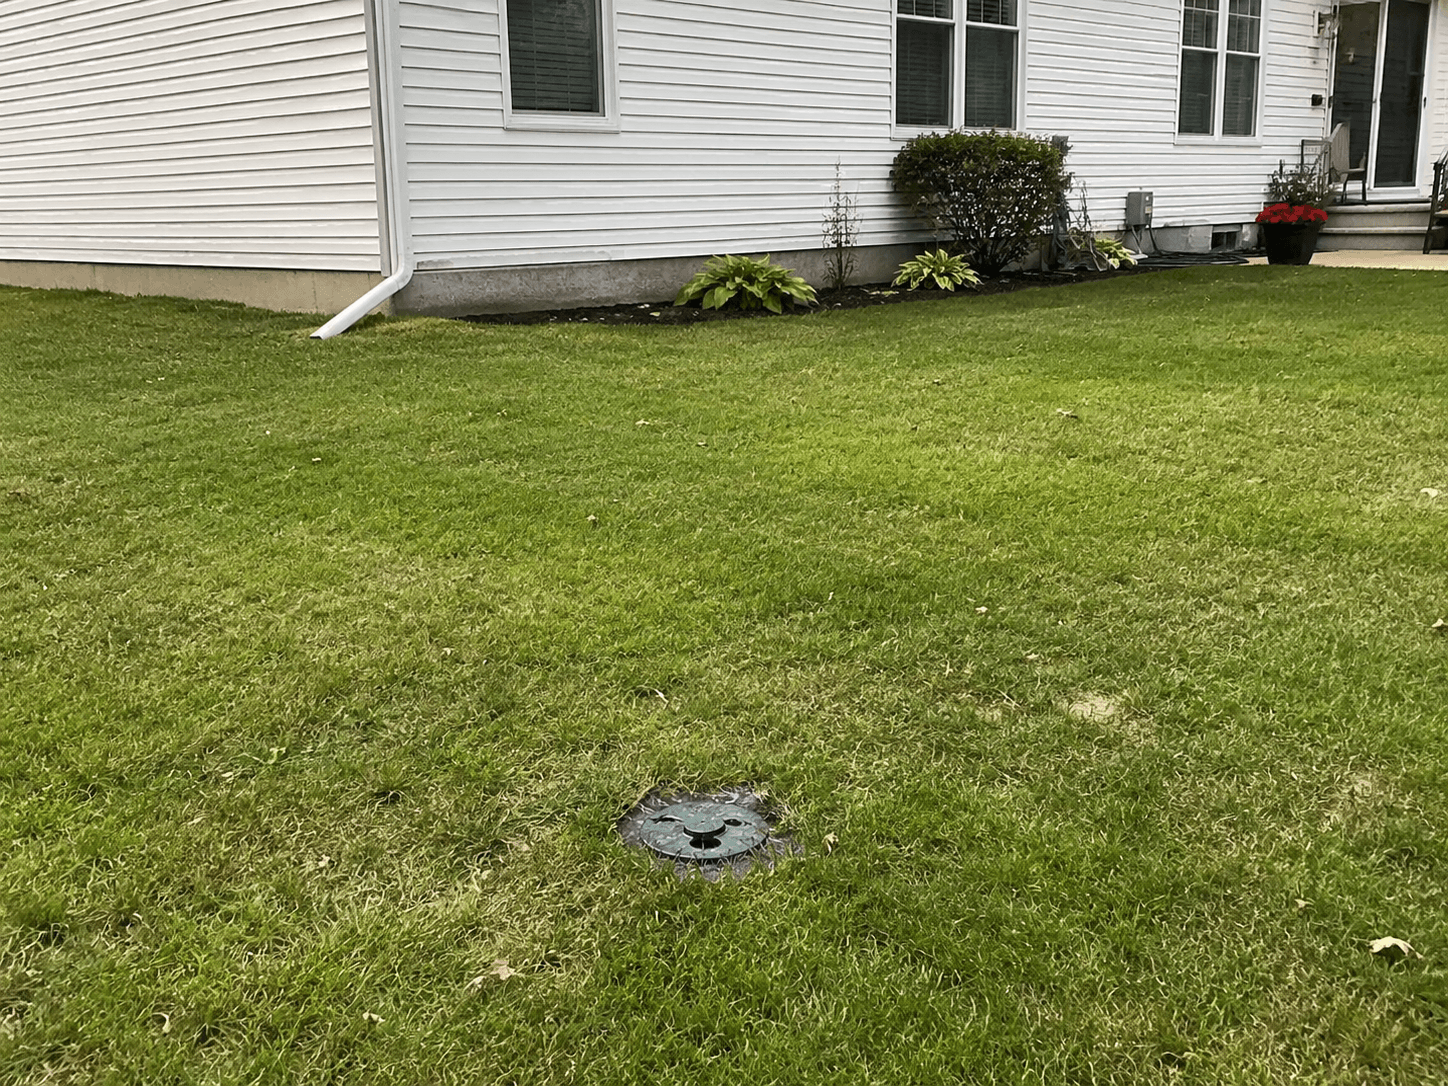
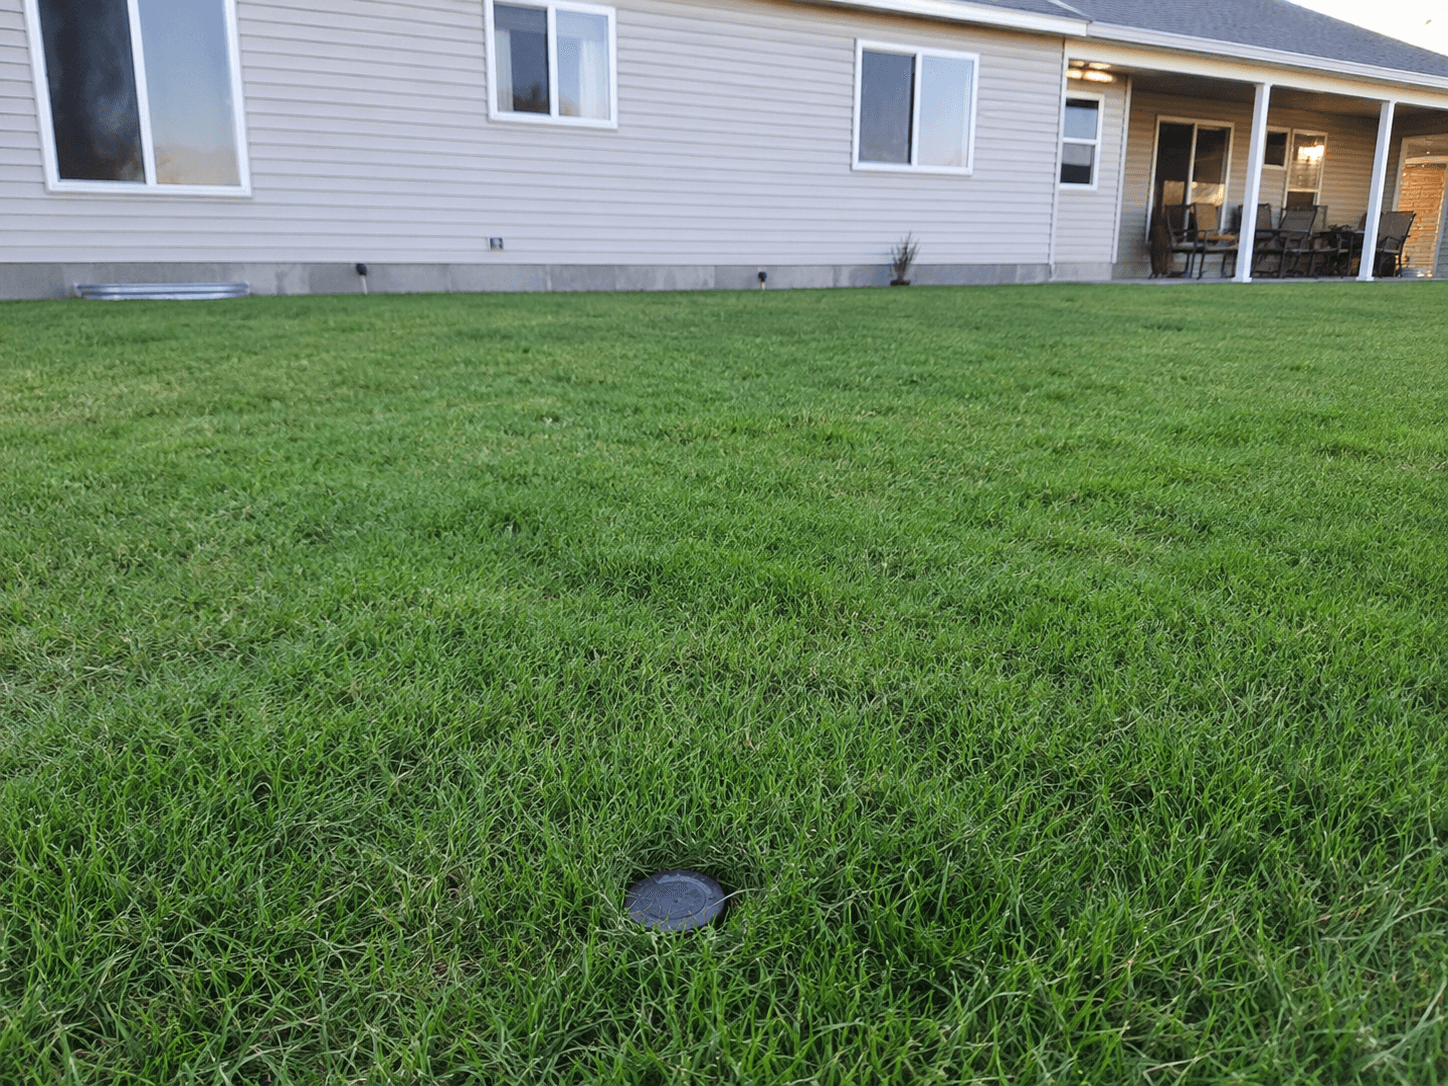
Pop-up emitters in the lawn. The most common solution for residential sump discharge. A buried pipe runs from the house to a pop-up emitter set flush with the lawn 15+ feet away. When the pump runs, the emitter opens and releases water. When the pump's off, it stays closed so mowers and debris can't damage it.
Dry creek beds. When the discharge point is visible or you want to turn the drainage path into a feature, terminating the sump line into a stone-lined dry creek bed makes the system look intentional. The creek carries the water from the discharge point to its final outlet.
Rain gardens. Sump pumps often run on a fairly consistent schedule (especially during wet seasons), making them a great water source for a rain garden. Native plants drink the water, the amended soil absorbs the rest, and the discharge becomes part of a living landscape feature.
Daylight outlets on slopes. If your property has natural slope, we can sometimes route the pipe to a point where it exits aboveground naturally. Cleanest option when topography supports it.
Dry wells. When there's no good surface outlet, a buried gravel pit lets the water dissipate into deeper soil. Used in flat yards or properties with significant constraints on where surface water can go.
Connection to existing drainage systems. If you already have downspout extensions or other drainage in place, we can sometimes tie the sump discharge into the same network. Sizing the network for sump volume is the key consideration, sump pumps push significantly more water than gutters during peak cycles.
The specific routing depends on your yard layout, the volume your pump moves, and what you want the discharge point to look like.
Our Install Process
How a Moku Sump Discharge Project Runs
Step 1: Watch the pump in action. When possible, we want to see the pump cycle to understand how much water it's moving and how often. The right discharge solution for a pump that runs twice a day is different from one that runs every 15 minutes during spring thaw.
Step 2: Plan the route. Map out the buried pipe path from the foundation to the outlet, accounting for slope, depth, freeze protection, and where the final discharge point should be. We'll show you the route before any trenching.
Step 3: Trench, pipe, connect, outlet. Trench from the foundation to the outlet point, install solid pipe on consistent downhill slope, connect to the existing house pipe with proper sealing and check valve, and install the outlet (pop-up emitter, dry creek, rain garden, or daylight outlet).
Step 4: Test and restore. Run the pump or pour water through the system to confirm flow, check for any leaks or back-pitch in the line, restore the turf with seed or sod, and walk through what to expect in cold weather. Most sump discharge projects take one to two days on site.