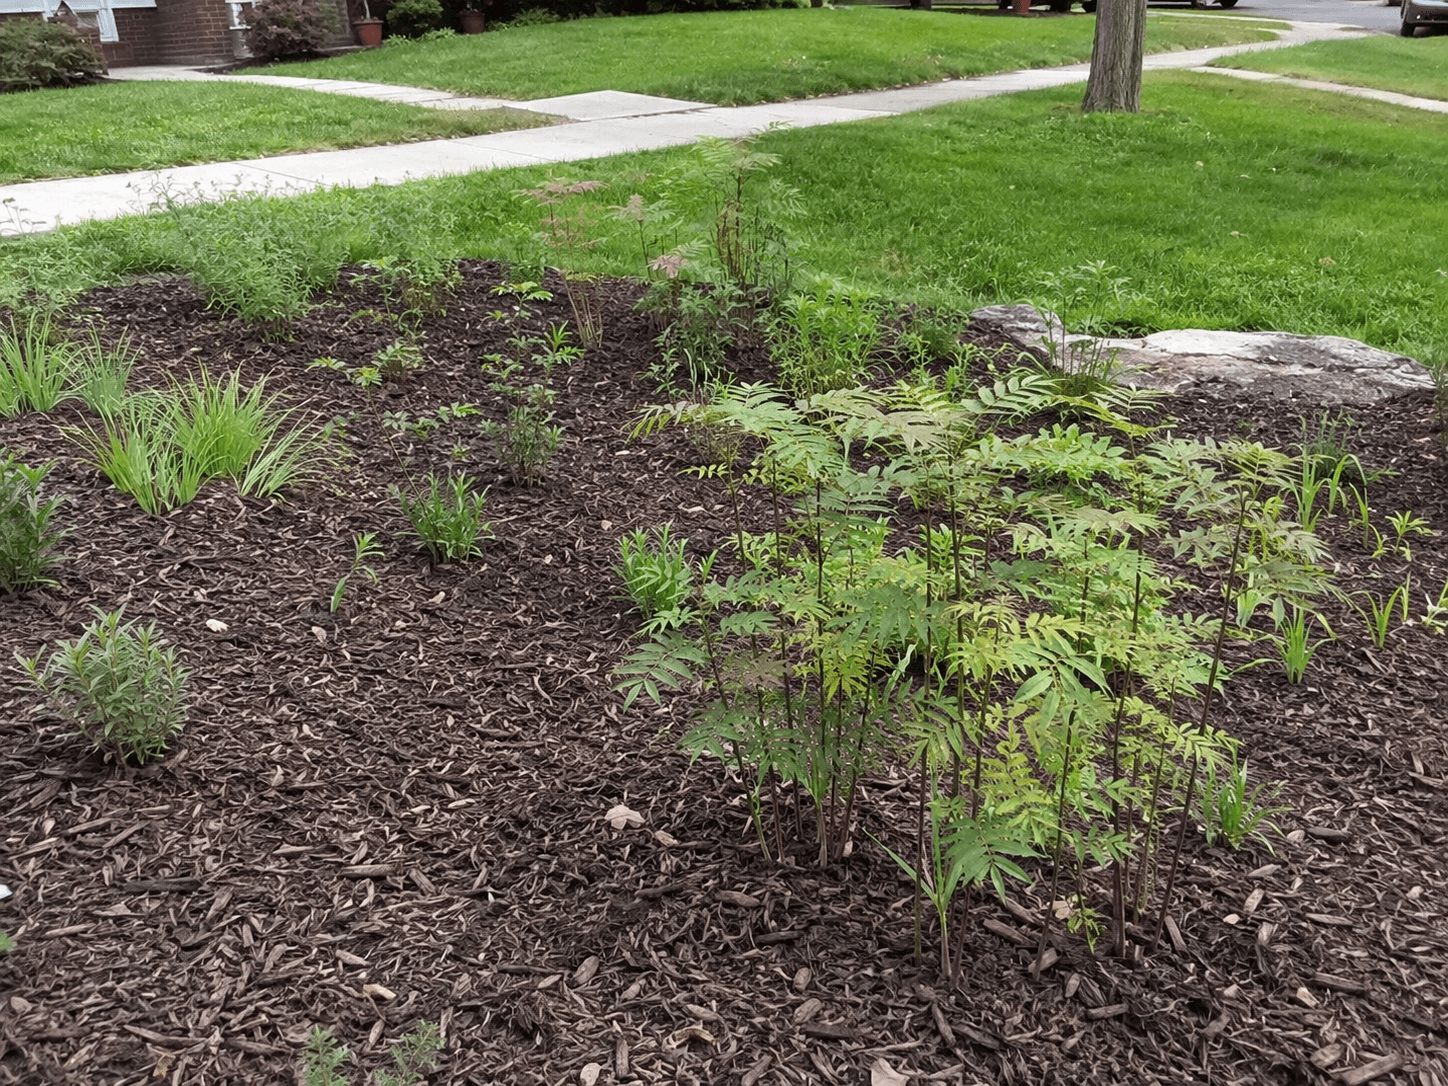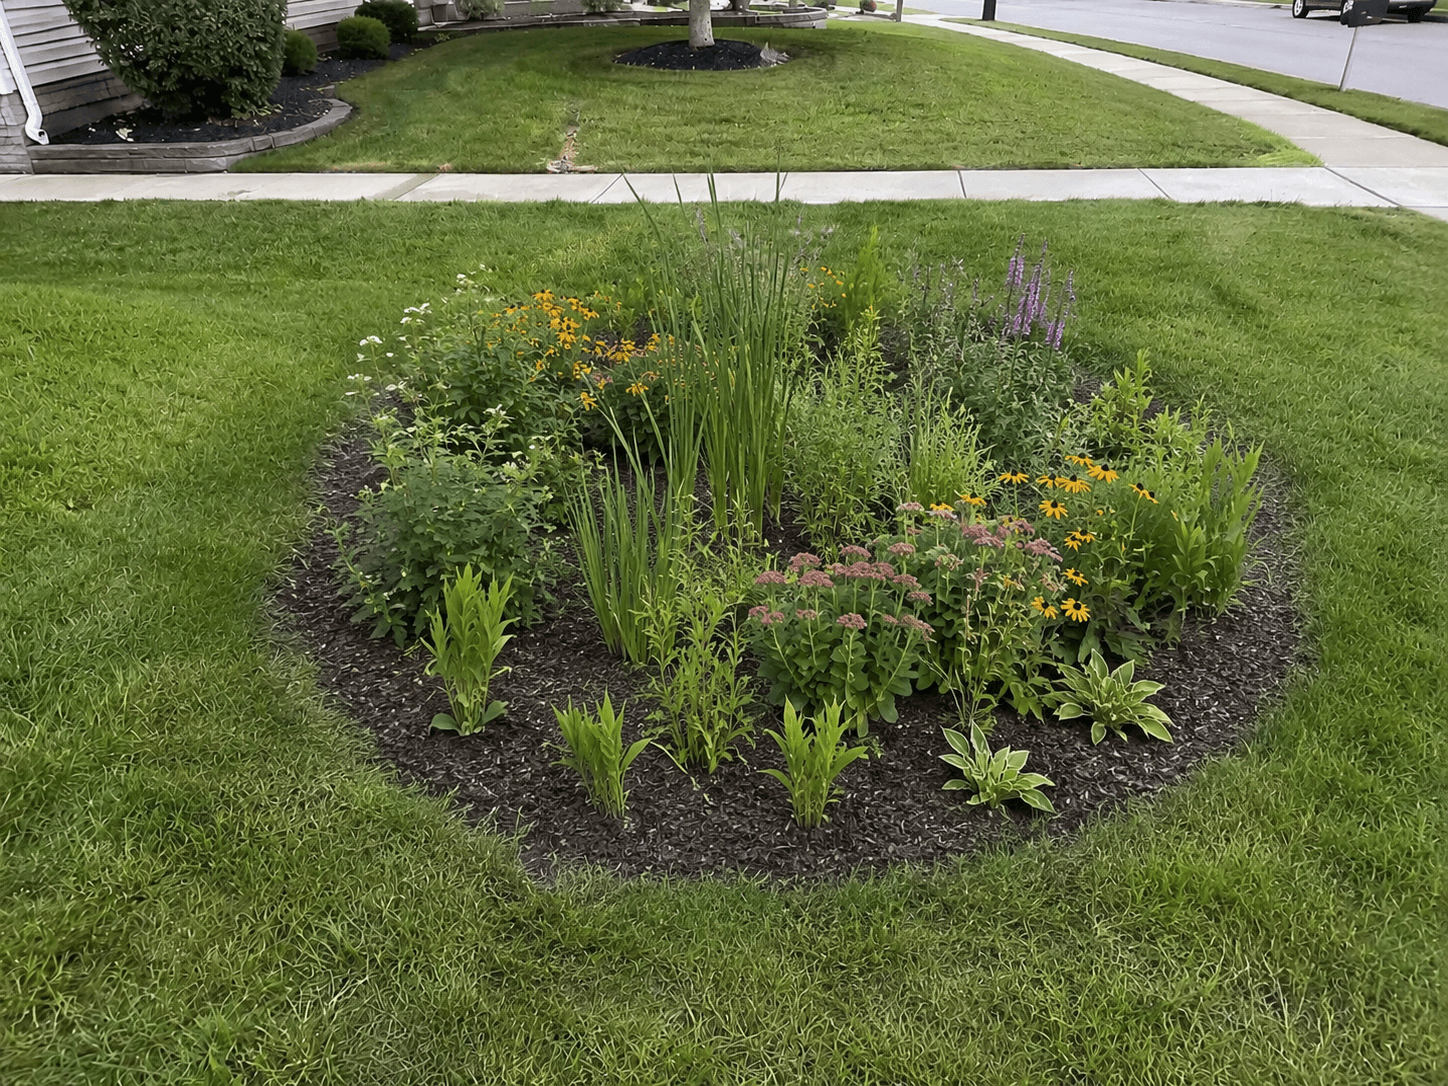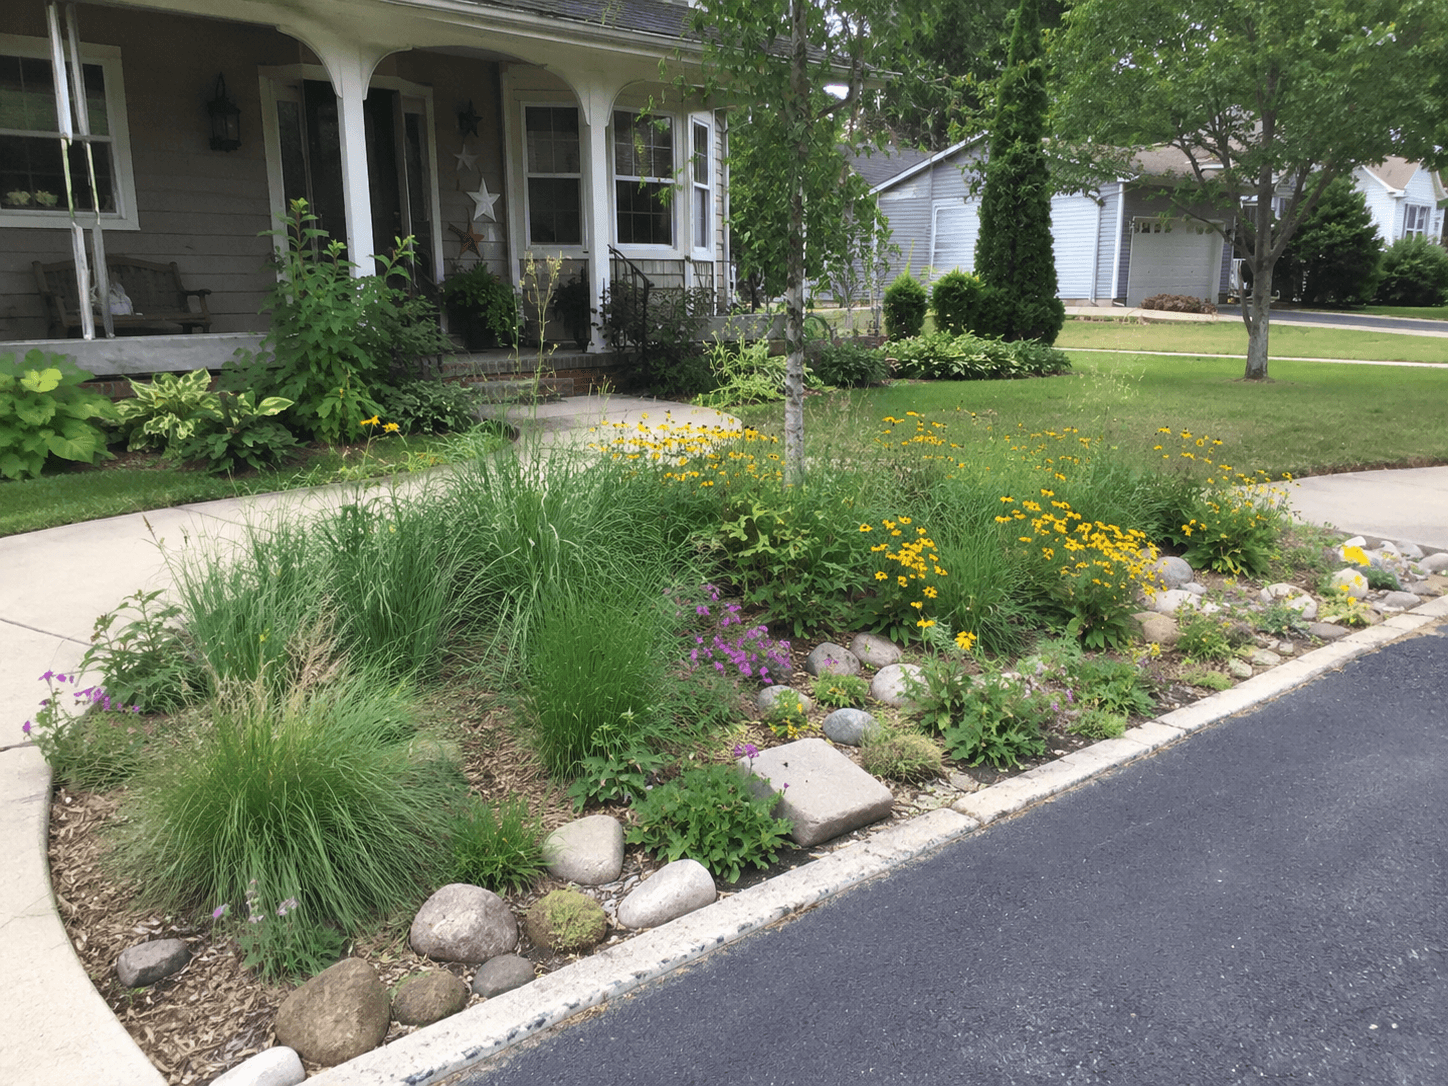
When a Rain Garden Is the Right Choice
They're the right call when:
You want runoff to soak into your property instead of running off it
You have a downspout or drainage outlet that needs a destination
You're environmentally conscious and like the idea of native plant gardens
A low spot in the yard is a candidate for being turned into something useful instead of fought against
You want a landscape feature that looks intentional but does real work
You have moderate sun exposure (most rain garden plants prefer at least part sun)
Rain gardens are not the right call for every yard, but when the conditions are right, they're one of the most rewarding drainage solutions to install.
What's On This Page
How a Rain Garden Works
The Engineering Behind a Beautiful Garden
A rain garden is not just a flower bed in a low spot. It's a piece of stormwater infrastructure disguised as a landscape feature, and the construction details are what make it work.
Here's how it functions:
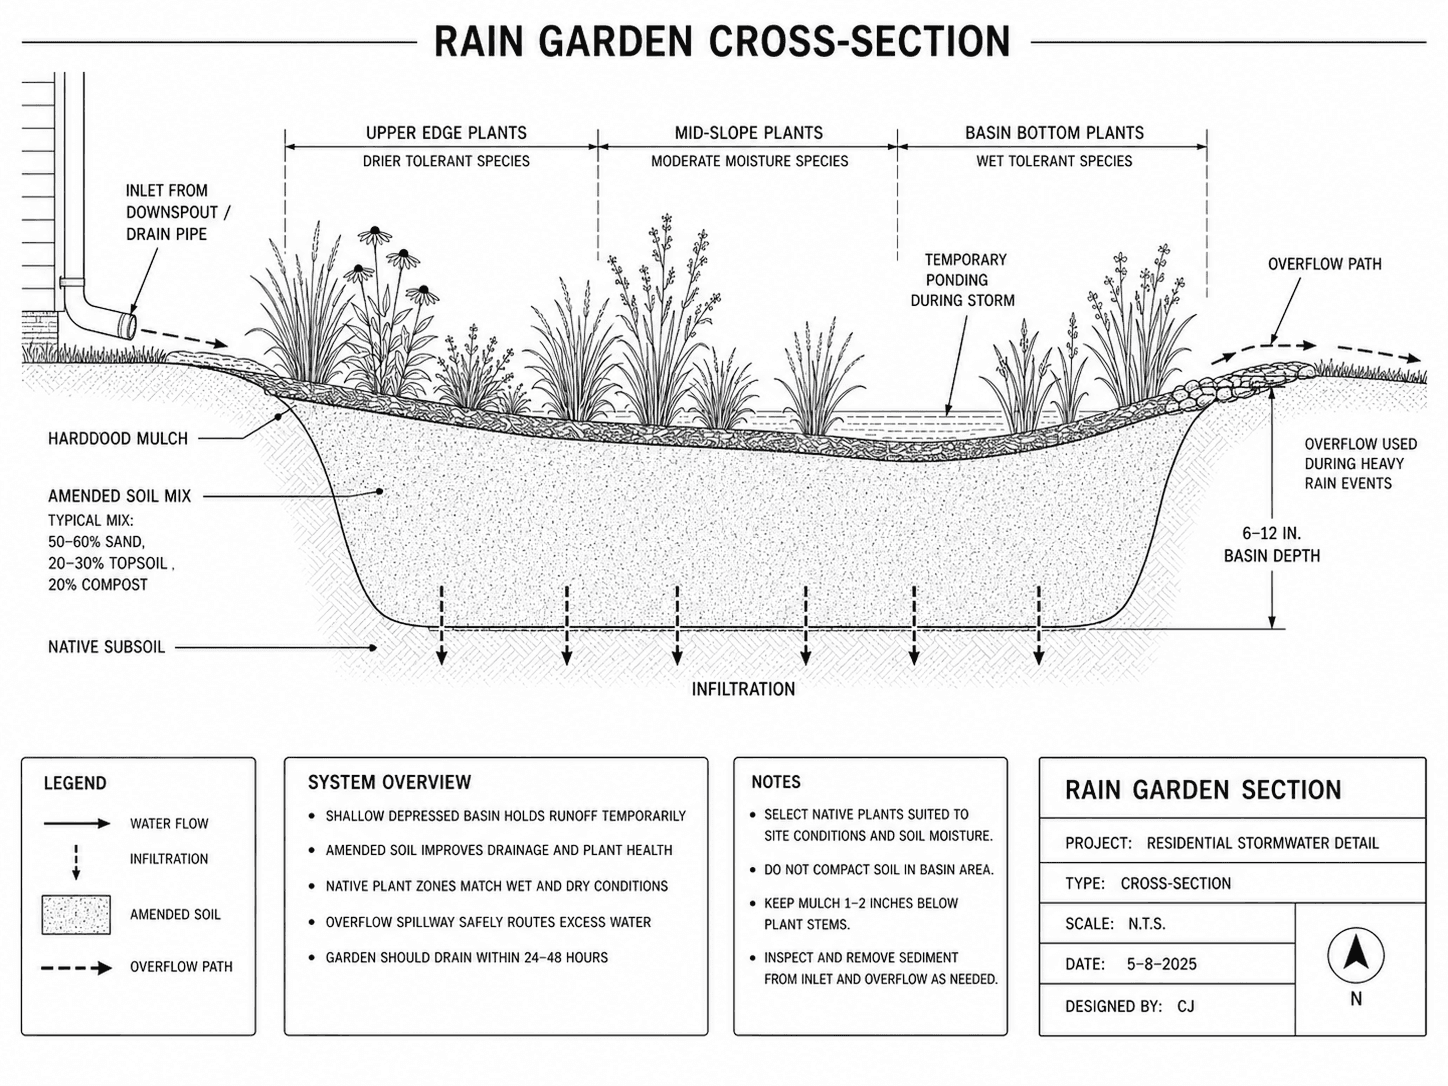
The basin. A shallow depression dug 6 to 12 inches below the surrounding grade. Wide and gentle, not deep and steep. The basin is what holds the stormwater while it soaks in.
The amended soil. Native Lincoln clay drains too slowly for a real rain garden. We replace the clay in the basin with a custom soil mix, typically a blend of sand, topsoil, and compost, that drains 5 to 10 times faster than clay alone. This is the most important construction step and the one that separates a working rain garden from a fancy puddle.
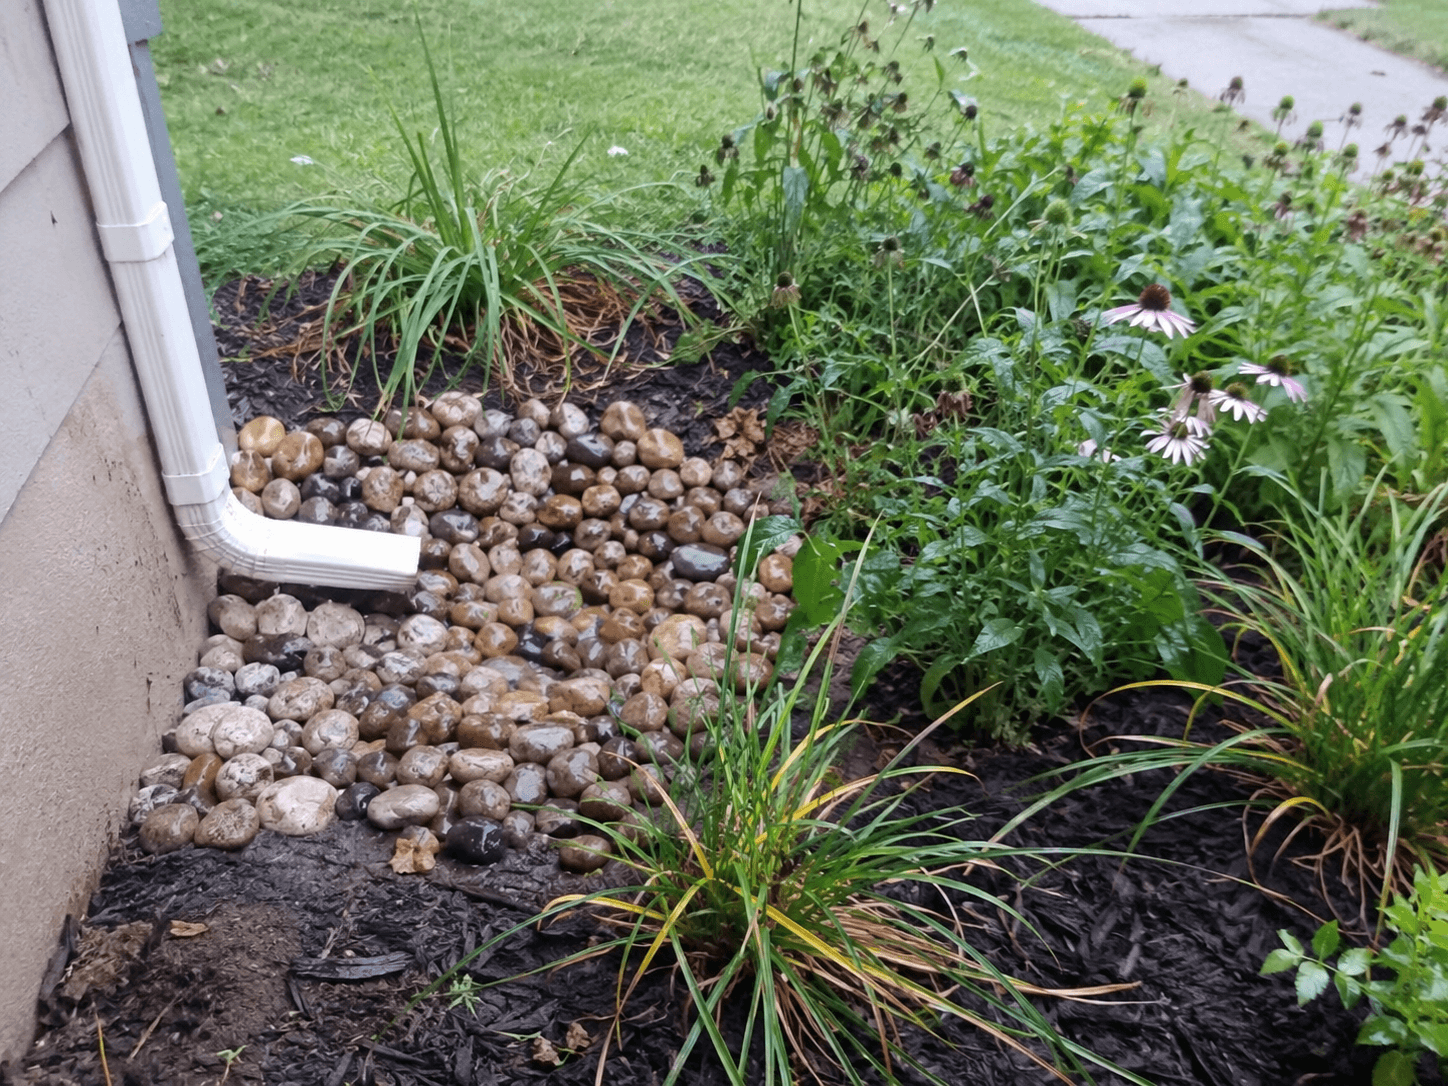
The inlet. Where the stormwater enters the garden. Usually a downspout extension, a catch basin outlet, or a swale that channels surface runoff. The inlet has to be protected with stone or plantings so the incoming water doesn't erode the basin edge.
The overflow. Where excess water exits during a really heavy storm. A rain garden is sized for typical rainfall, not 100-year storm events. The overflow gives the water a safe path during extreme rain so the garden doesn't flood adjacent areas.
The plantings. Native, deep-rooted plants that tolerate both wet and dry conditions. The plants pull water out of the soil, improve infiltration through their root systems, and give the garden its visible character.
How it actually works during a storm: stormwater flows in through the inlet, fills the basin temporarily (an inch or two of water sitting on top of the amended soil), and then soaks down through the soil mix within 24 to 48 hours. The plants drink some of it, the rest infiltrates into the deeper soil and recharges groundwater. By a few days after a storm, the garden looks dry again.
The Soil and Plants Matter
The Two Things That Make or Break a Rain Garden
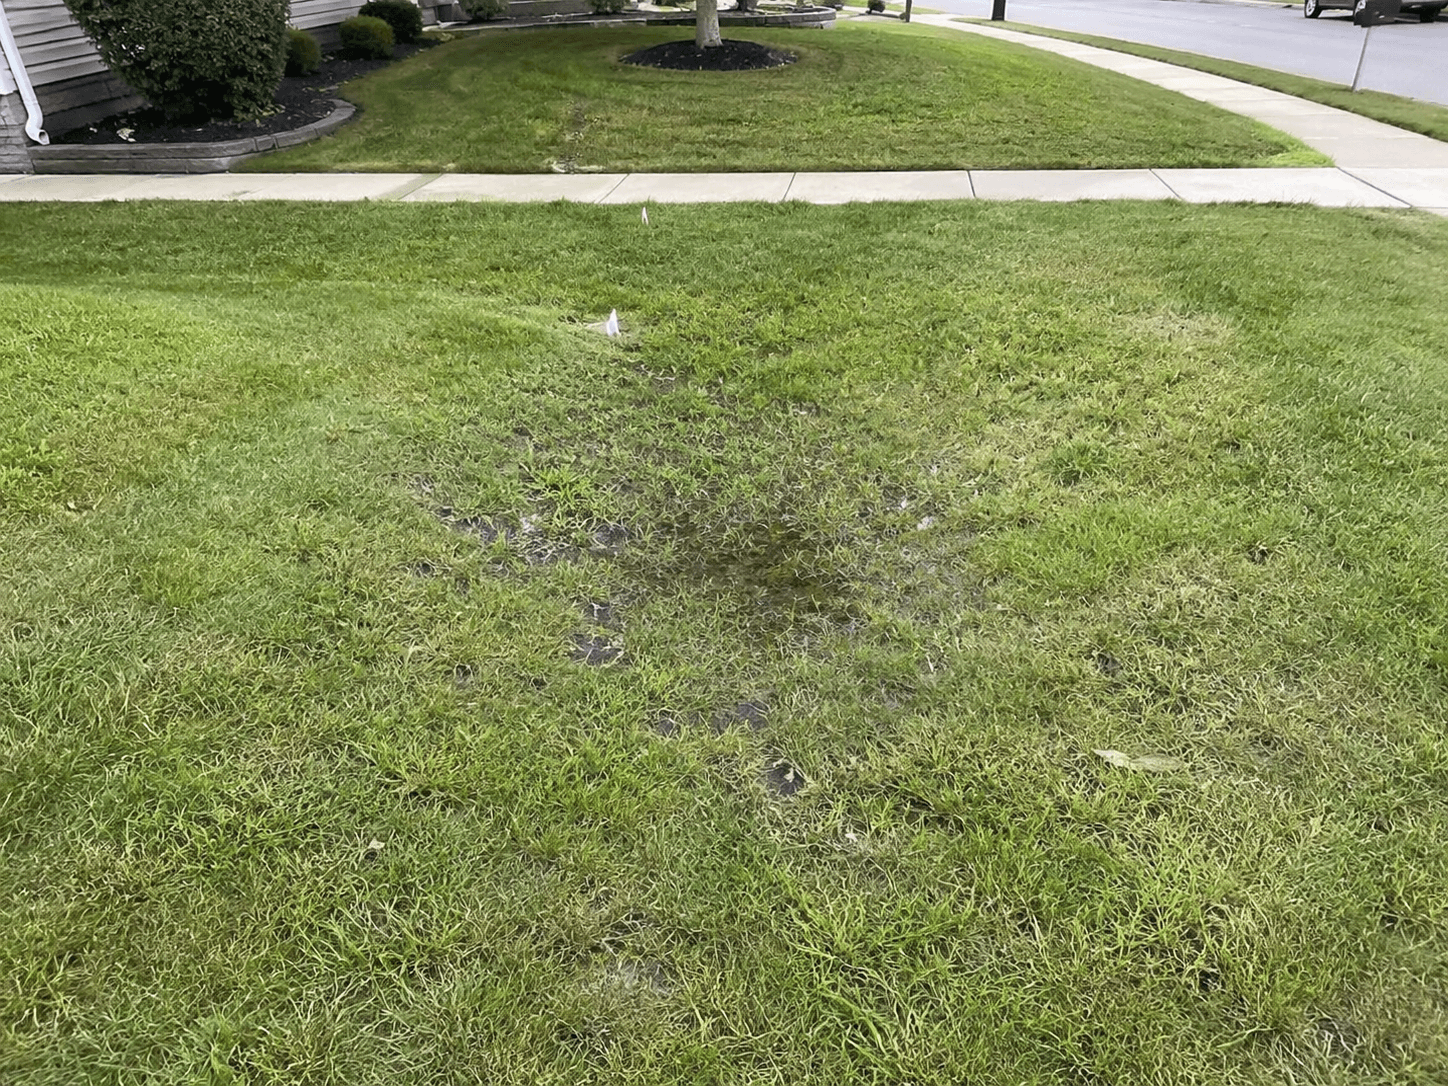
Lincoln yards present a specific challenge for rain gardens: heavy clay soil. Clay doesn't drain well, which is why we have drainage problems in the first place. So if you just dig a hole in clay and plant pretty flowers, you don't have a rain garden. You have a small pond.
A real rain garden requires the right soil amendment.
The soil mix. We replace the native clay in the garden basin with a custom mix, typically 50 to 60% sand, 20 to 30% topsoil, and 20% compost. This is the working layer that lets water absorb at the speed a rain garden needs. The mix has to drain at roughly 1 inch per hour, fast enough to absorb stormwater but slow enough for plants to drink it.
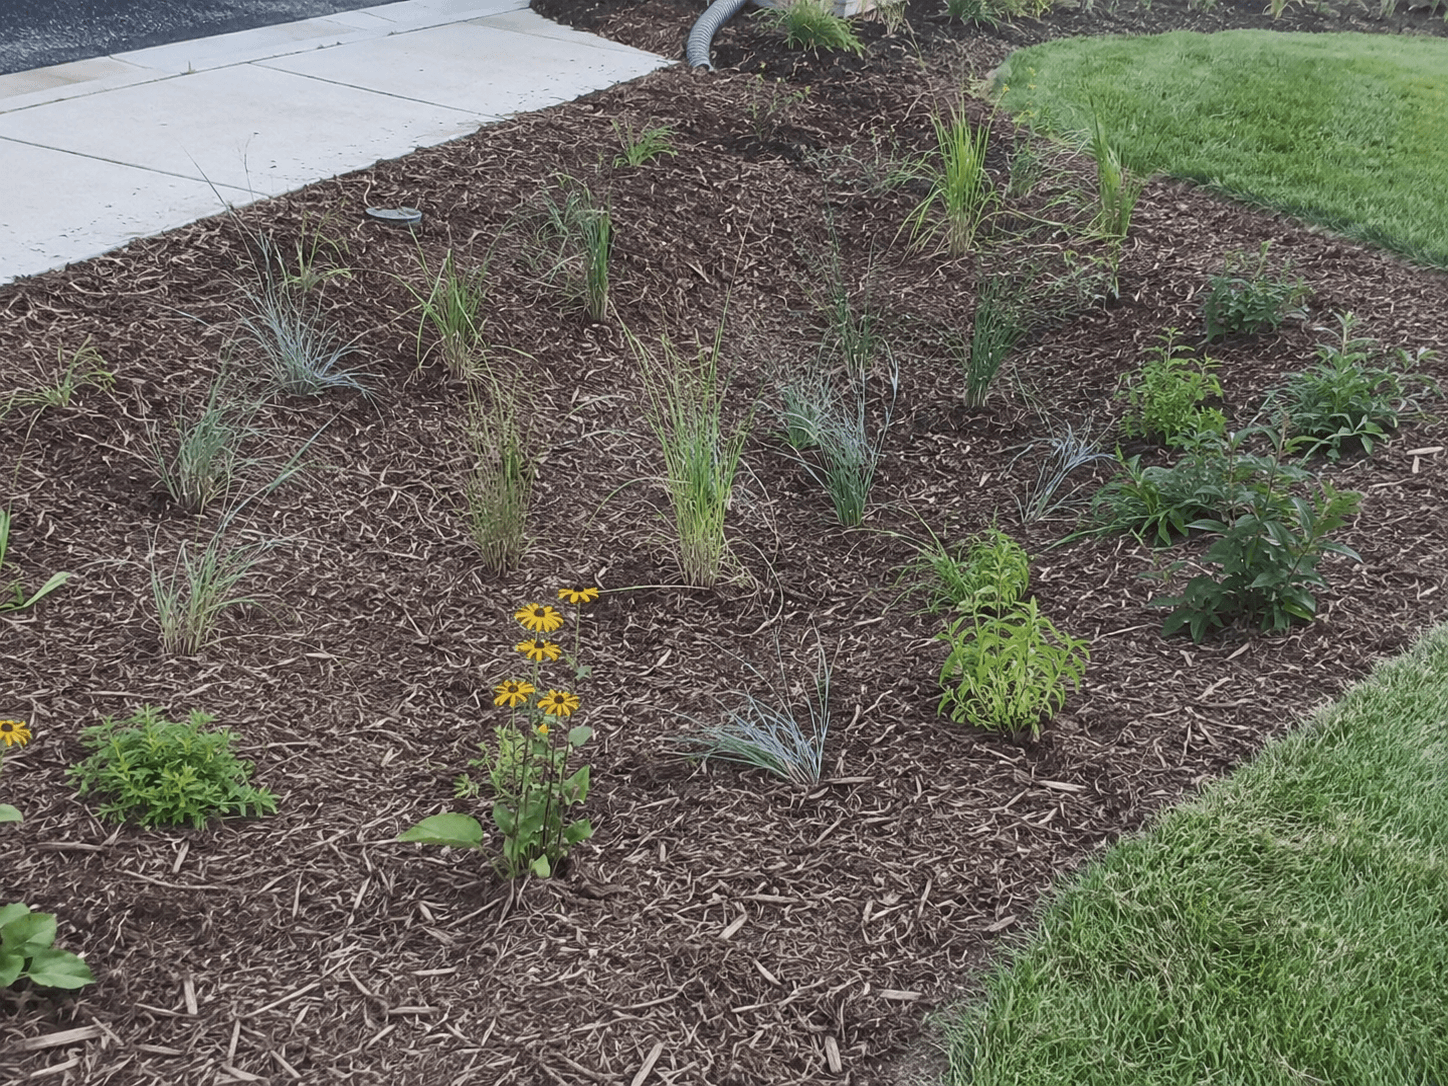
The native plants. Rain gardens use plants that can handle both extremes, wet feet during and after storms, and drier conditions between rains. In Nebraska, we lean on natives like switchgrass, little bluestem, black-eyed Susan, prairie blazing star, swamp milkweed, and sedges. Native plants have deep root systems that improve drainage over time, so the rain garden actually gets better as it matures.
The plant palette gets layered: tougher, water-tolerant species in the bottom of the basin, moderately wet-tolerant species in the middle, and more drought-tolerant species at the upper edges. That structure matches how water actually distributes itself across the garden.
Done right, the result is a perennial bed that handles real volumes of stormwater and looks better every year as the plants establish.
Where Rain Gardens Belong
Best Locations for a Rain Garden
At the end of a downspout extension. The classic application. Roof runoff is the highest-volume, most predictable water source in most yards, and rain gardens absorb it beautifully. A buried pipe runs from the downspout to the garden inlet, where the water emerges and soaks in.
Below a catch basin or French drain outlet. Same idea. Instead of discharging drainage system water into a dry creek bed or pop-up emitter, route it into a rain garden as the final absorption point.
In a chronic low spot. Where you've got a part of the yard that's always wet, instead of fighting it with grading or drains, convert it to a rain garden. Embrace the low spot and turn it into the most beautiful part of the yard.
At the bottom of a slope. Where water naturally collects after running downhill, a rain garden catches the runoff and soaks it in before it becomes a problem. Especially effective on properties where the slope is sending water toward a foundation or onto a neighbor's yard.
Adjacent to driveways and patios. Hardscape generates significant runoff. A rain garden alongside a driveway or patio can absorb that runoff right where it's generated.
As the centerpiece of a native plant landscape design. Some homeowners want the rain garden to be visible and prominent rather than hidden in a corner. Done right, it's the kind of feature that makes the yard.
Our Install Process
How a Moku Rain Garden Project Runs
Step 1: Site selection and sizing. We walk the property, look at sun exposure, soil, slope, water sources, and existing landscaping. We size the garden based on the watershed it'll handle, the bigger the runoff source, the bigger the garden. A typical residential rain garden is between 100 and 300 square feet.
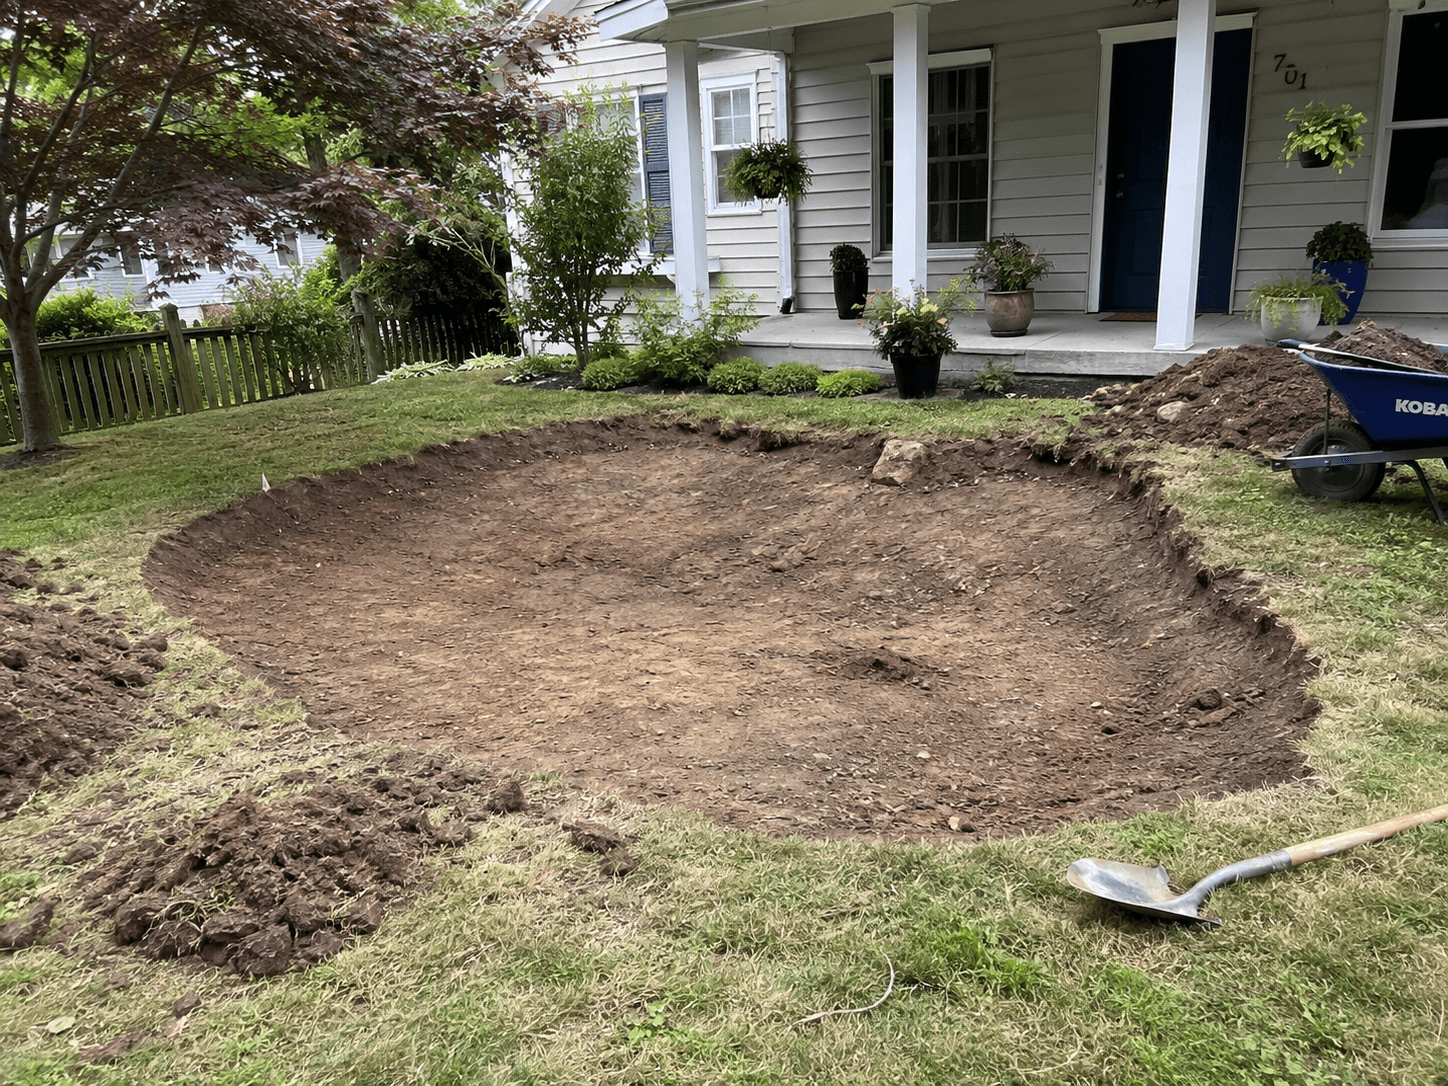
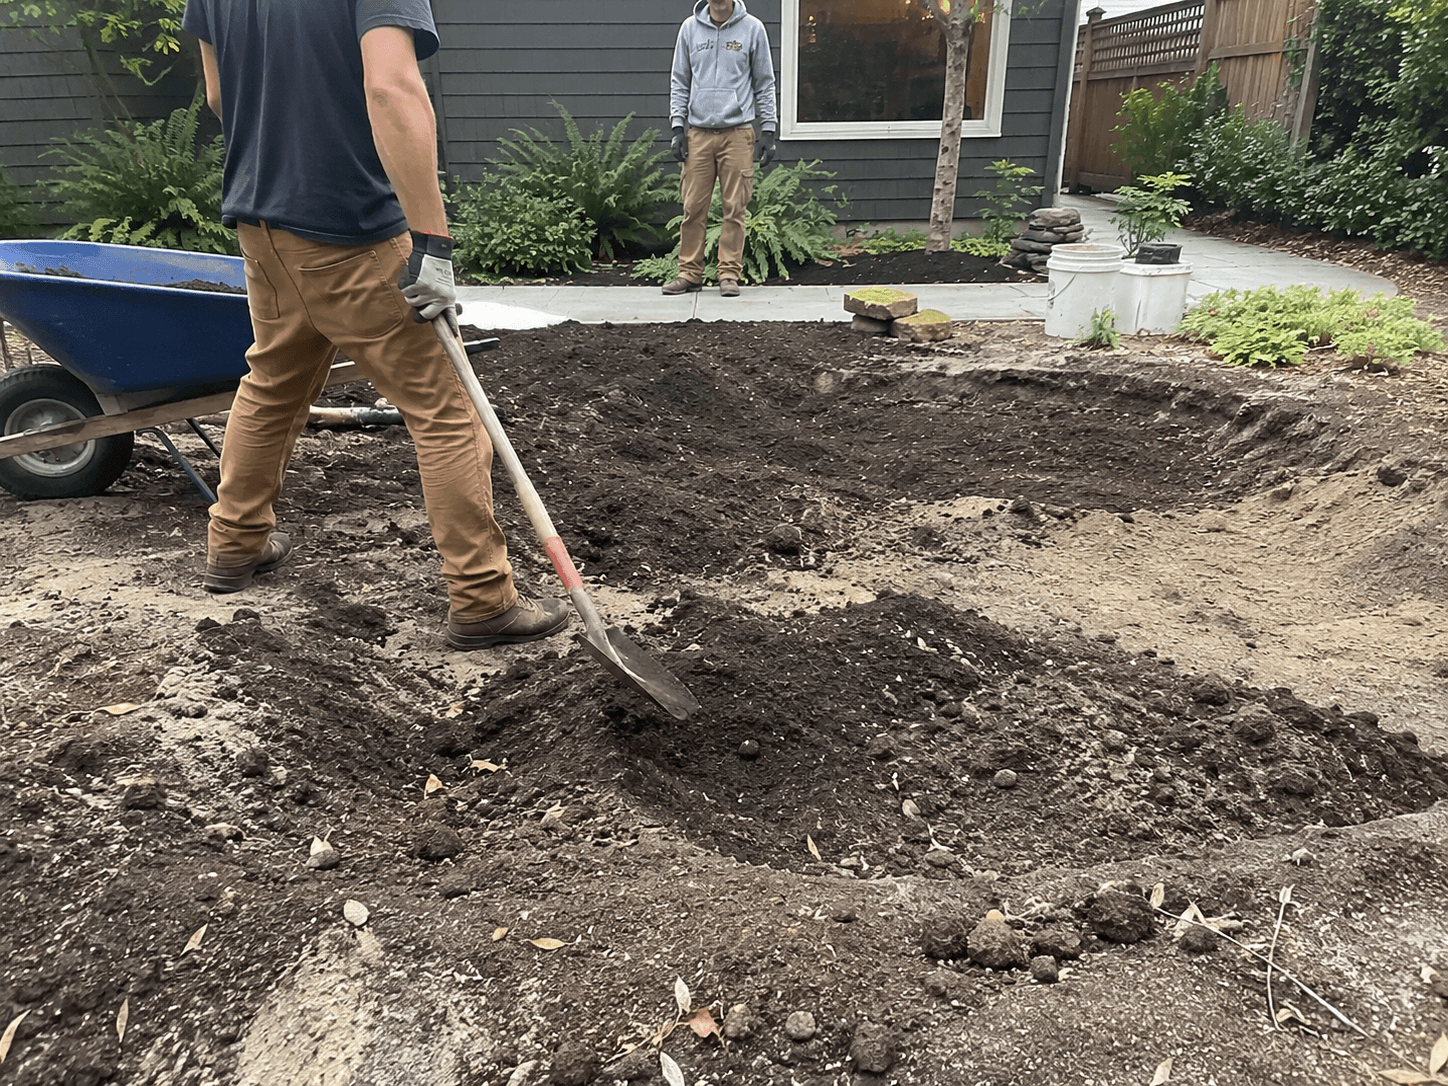
Step 2: Excavate and amend the soil. Strip the sod, dig the basin to the planned depth, and remove the native clay. Bring in the custom soil mix and blend it to the right consistency. This is the most labor-intensive part of the project but it's what makes the garden work.
Step 3: Inlet, overflow, and edging. Install the water entry point (usually a buried pipe outlet from a downspout or drain), build the overflow path for heavy storms, and edge the garden so it integrates cleanly with the surrounding lawn or beds.
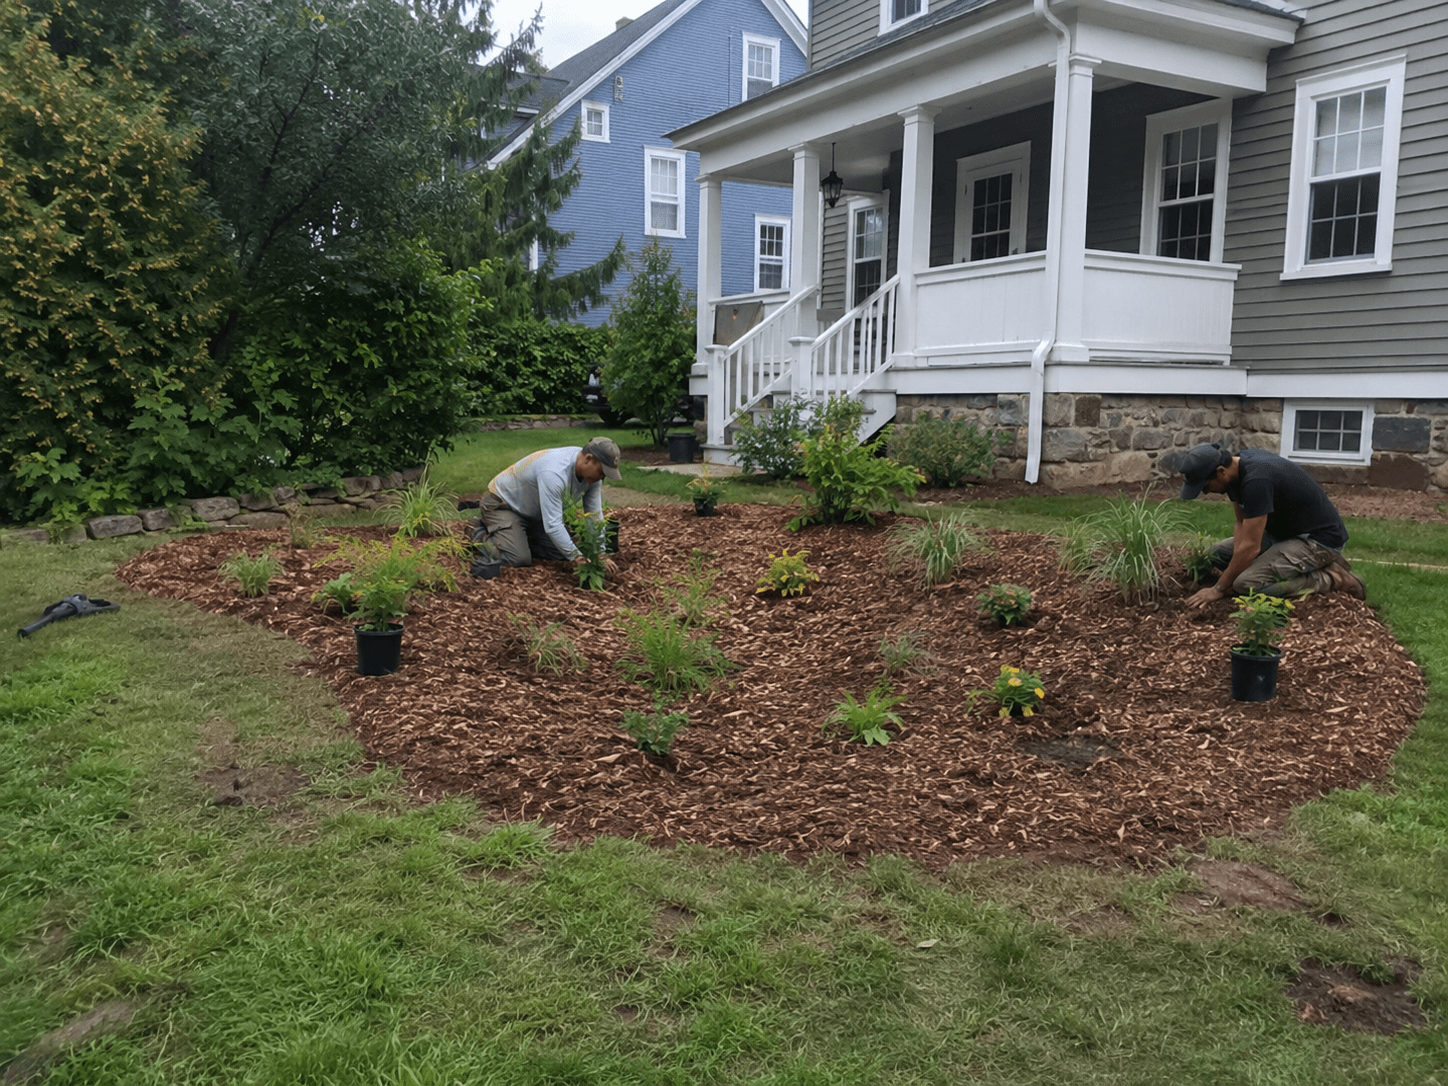
Step 4: Planting and mulch. Plant the native palette in zones based on water tolerance. Mulch heavily with hardwood mulch (not rock, which compacts the soil). Water in thoroughly and set up watering instructions for the first growing season.
Step 5: Walk through care. First-year care is the most active. We give you a maintenance plan covering watering, weeding, and what to expect as the plants establish.