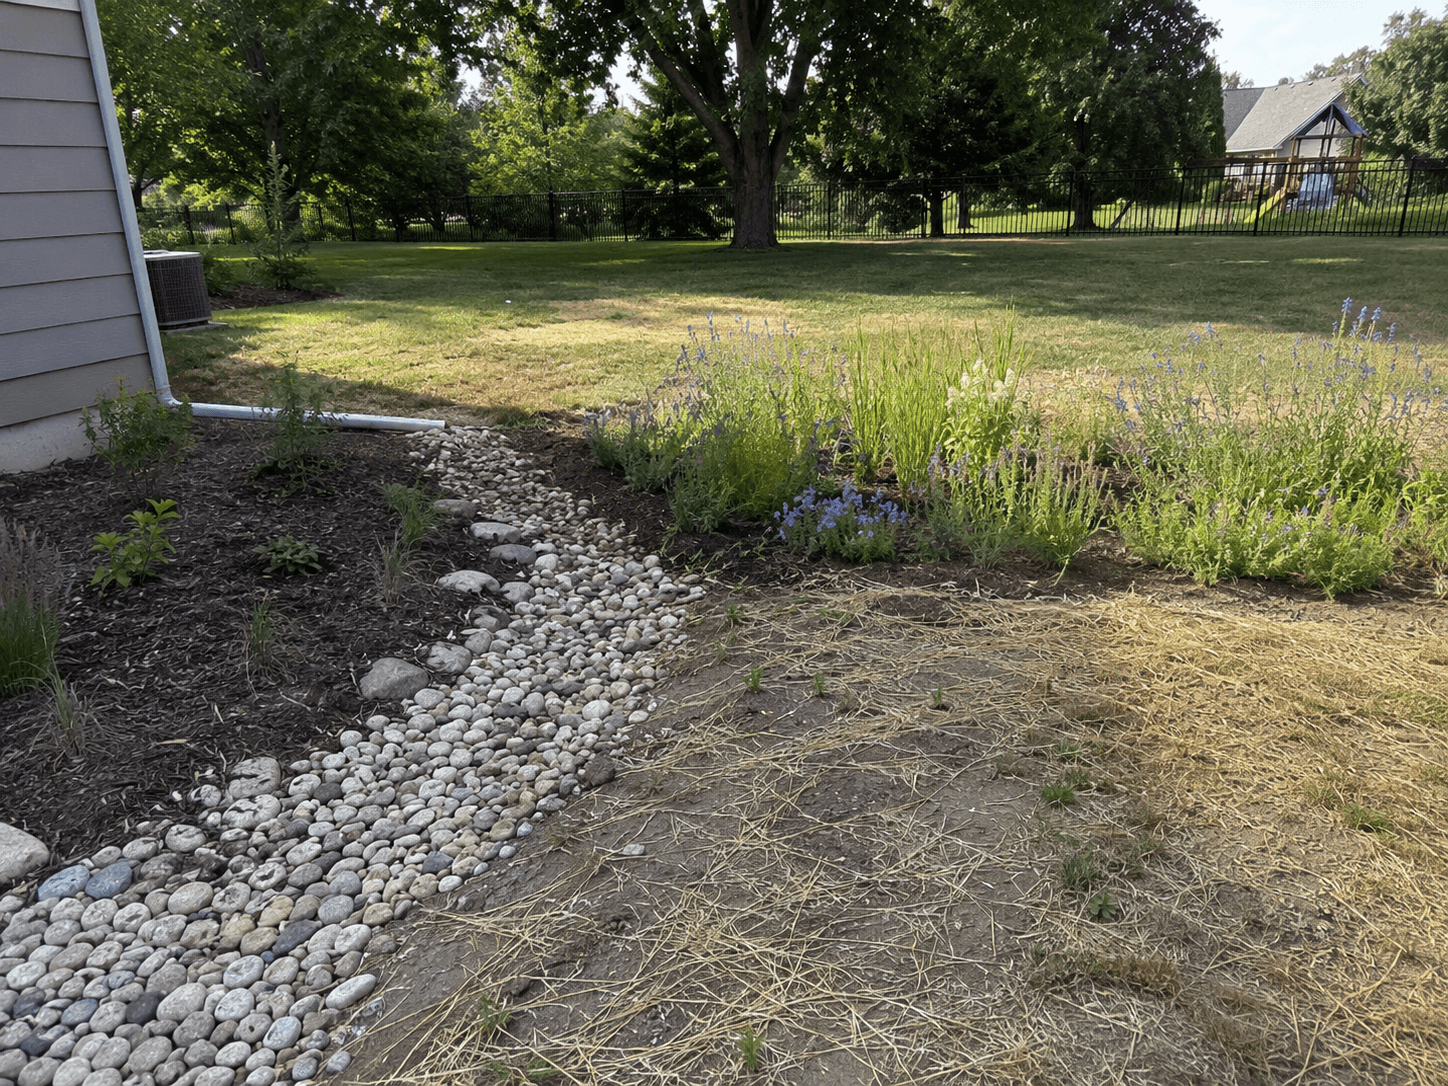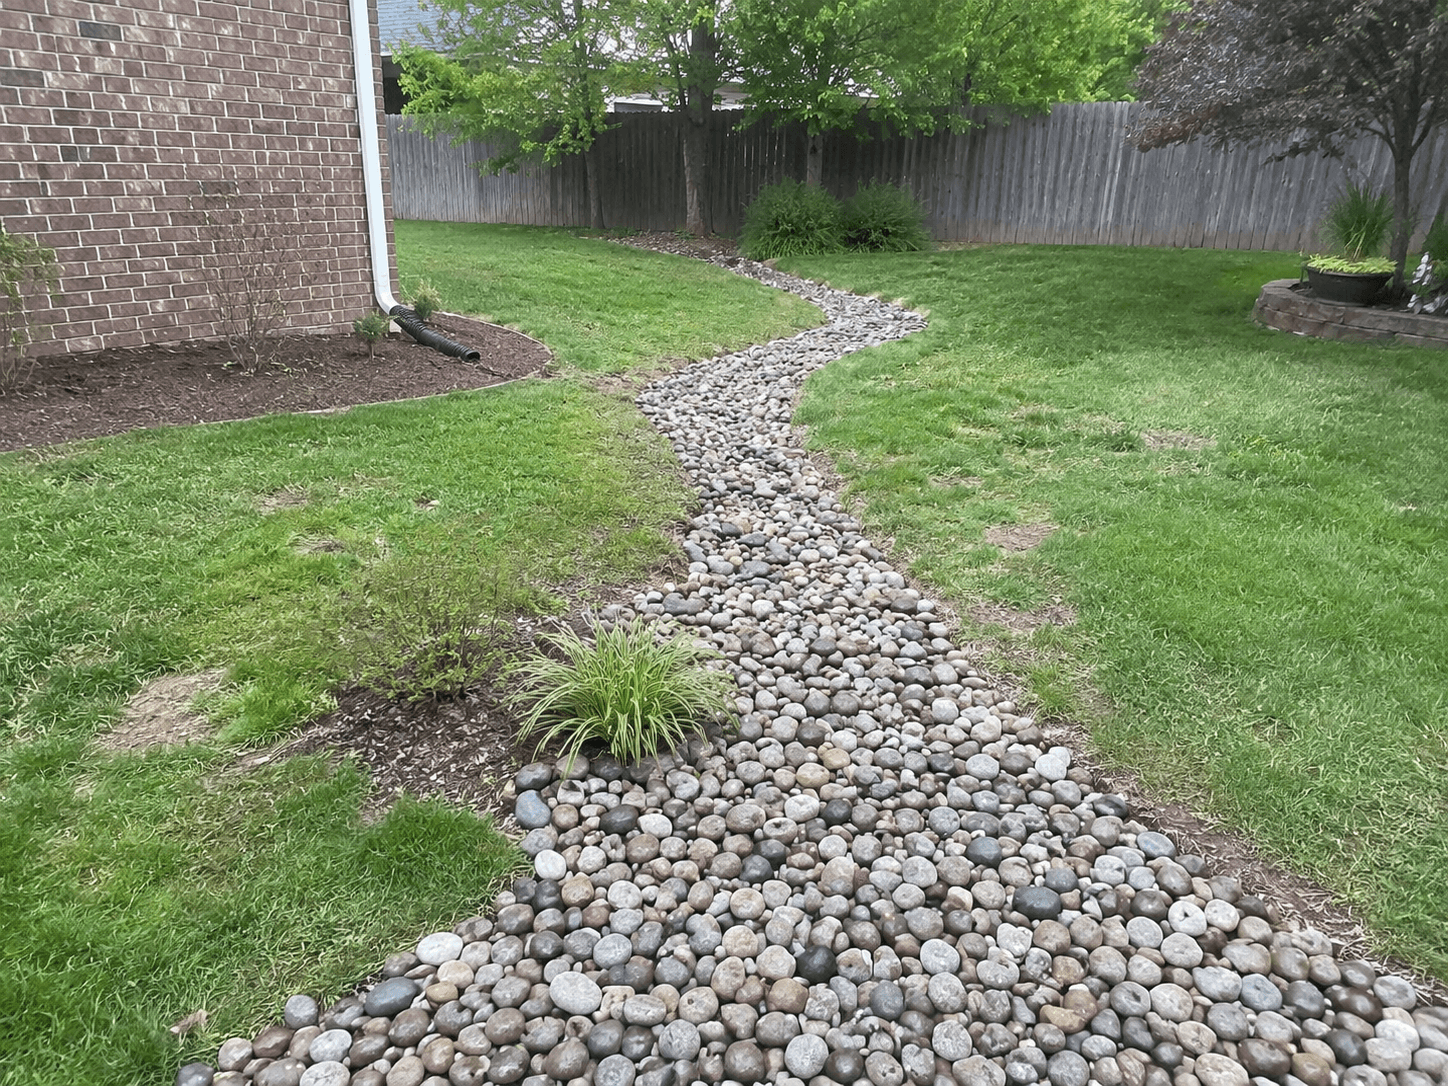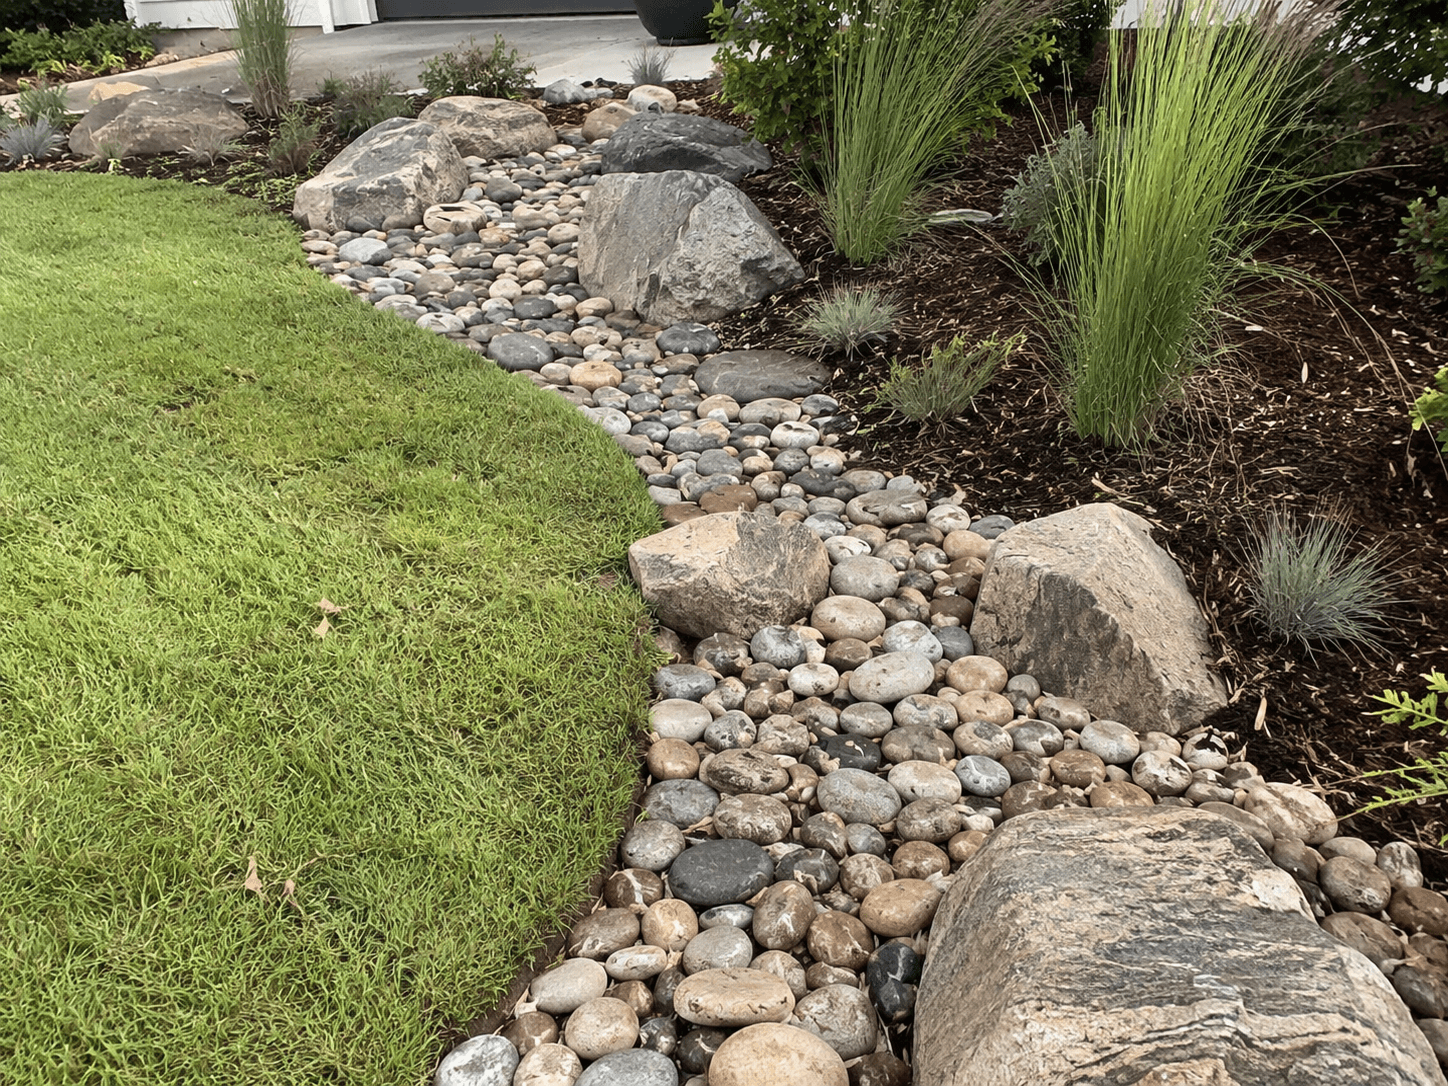
When a Dry Creek Bed Is the Right Call
They're the right call when:
You have a clear drainage path the water already wants to follow
The discharge point is visible from the house, patio, or main entertaining area
You want drainage that doubles as landscaping instead of looking like a utility install
The slope is gentle to moderate, dry creek beds work best with at least some natural fall
You have a downspout, French drain, or catch basin outlet that needs a destination
The natural drainage path runs through a planting bed or open lawn area where pipe would look out of place
If your drainage problem is hidden, a buried pipe is fine. If it's visible from the deck, a dry creek bed turns it into something you actually want to look at.
What's On This Page
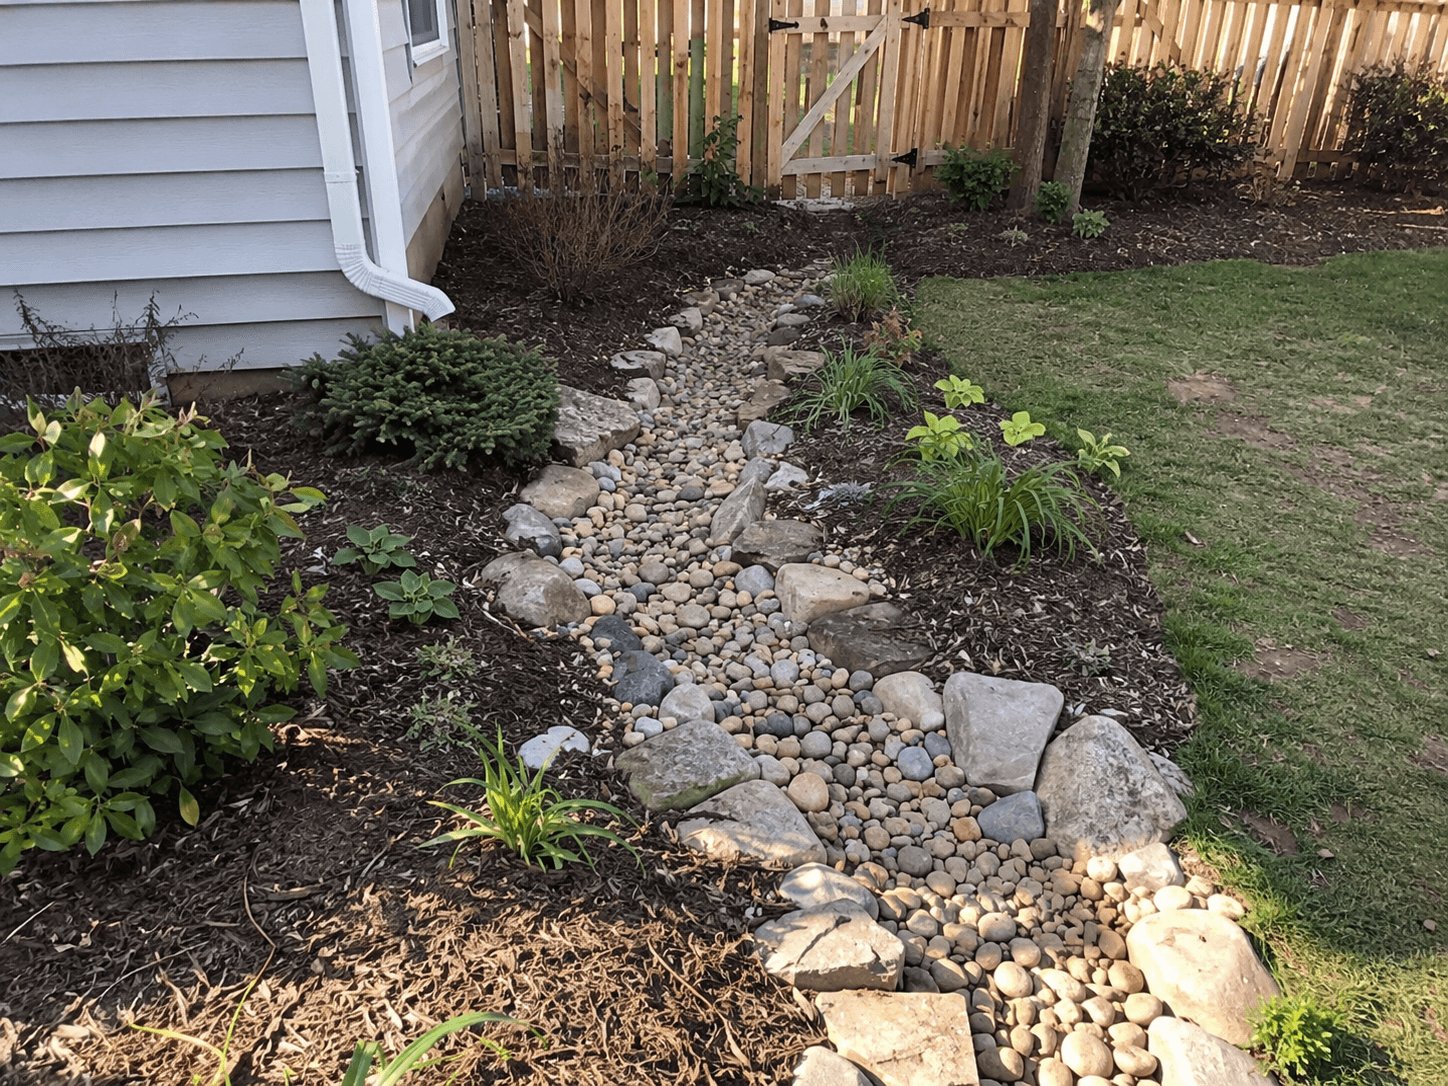
How a Dry Creek Bed Works
More Than a Rock-Filled Trench
A dry creek bed looks simple, but the ones that actually work follow a real construction sequence. A creek bed that's just stones dumped on the ground is decoration. A creek bed that's built right is a drainage feature that happens to be beautiful.
Here's what makes one work:
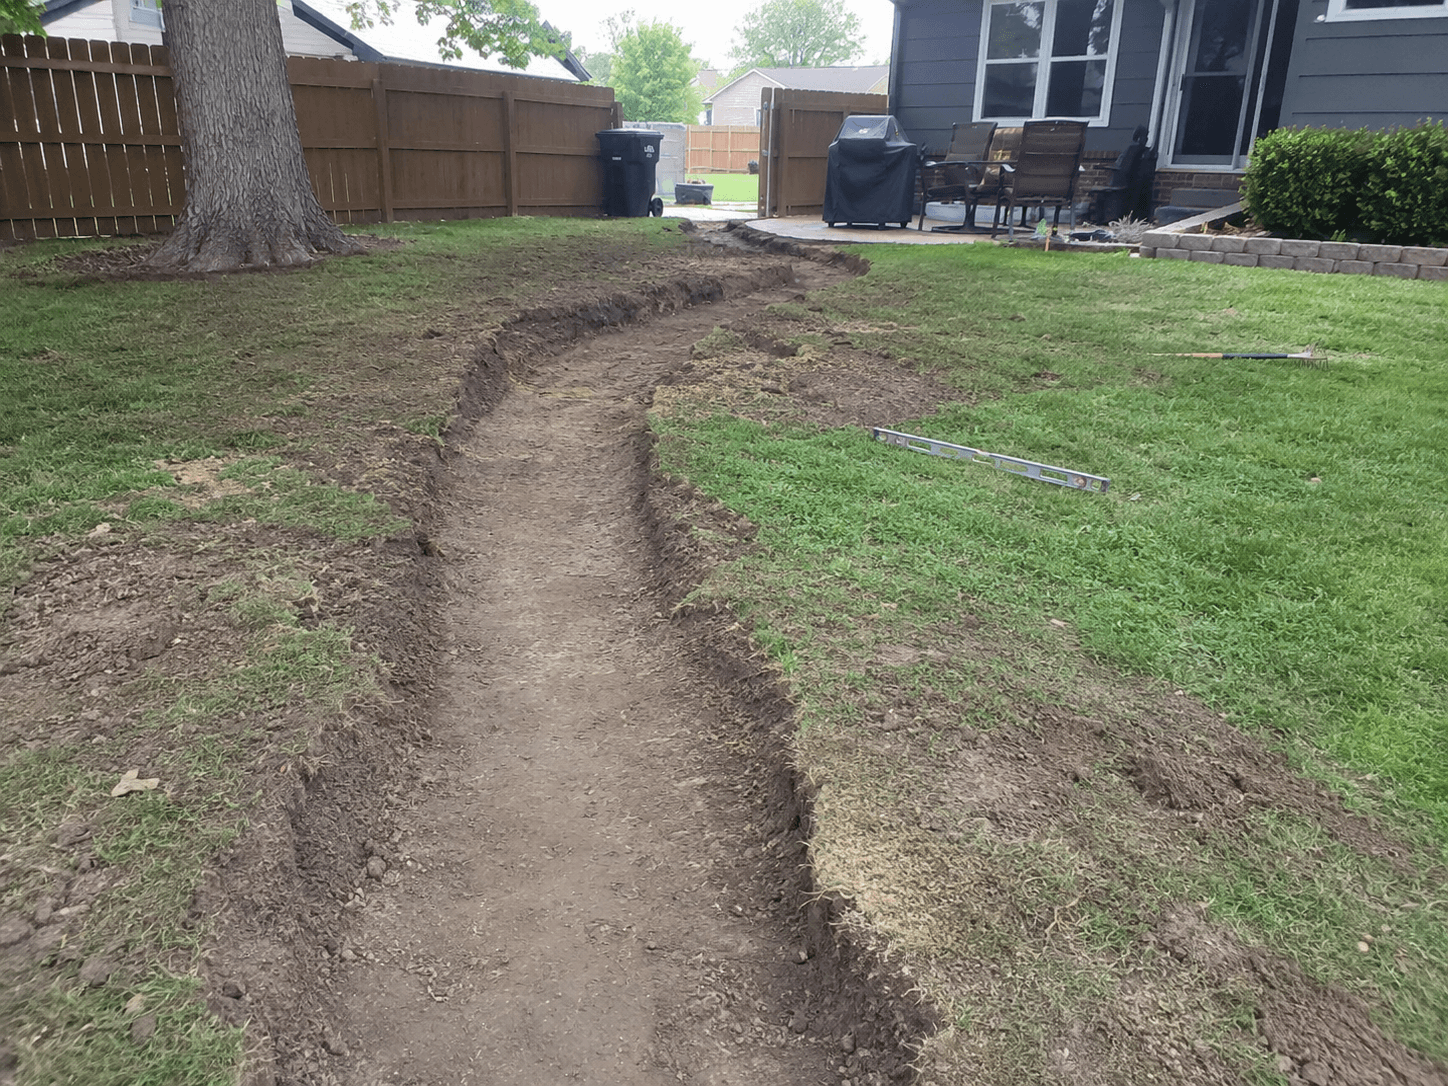
The grade. Like every drainage solution, a dry creek bed needs slope. Without consistent downhill grade, water sits in the rock instead of flowing through it. We grade the channel before any stone goes in.
The shape. A real creek bed is wider than it is deep, with banks that slope gently up to the surrounding lawn. Not a straight trench. Not a perfect oval. We curve and vary the width to make it feel natural and to slow water down at the right points.
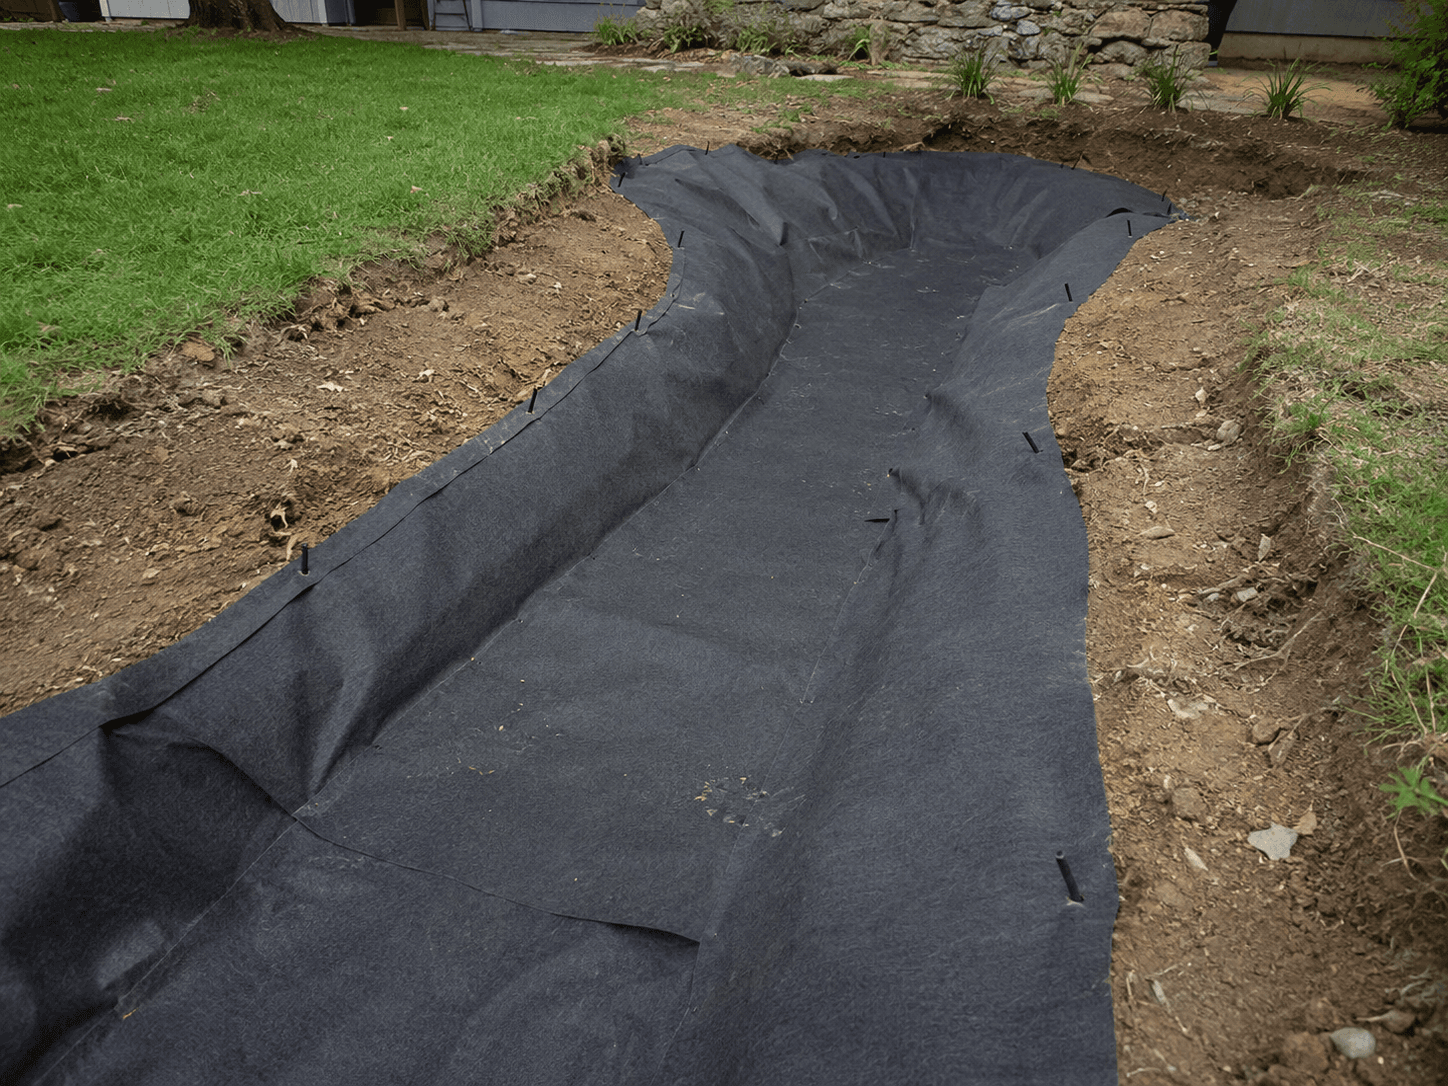
The fabric. Heavy-duty landscape fabric underneath the entire channel. Without it, weeds grow up through the stone and the creek becomes a weeding project instead of a maintenance-free feature.
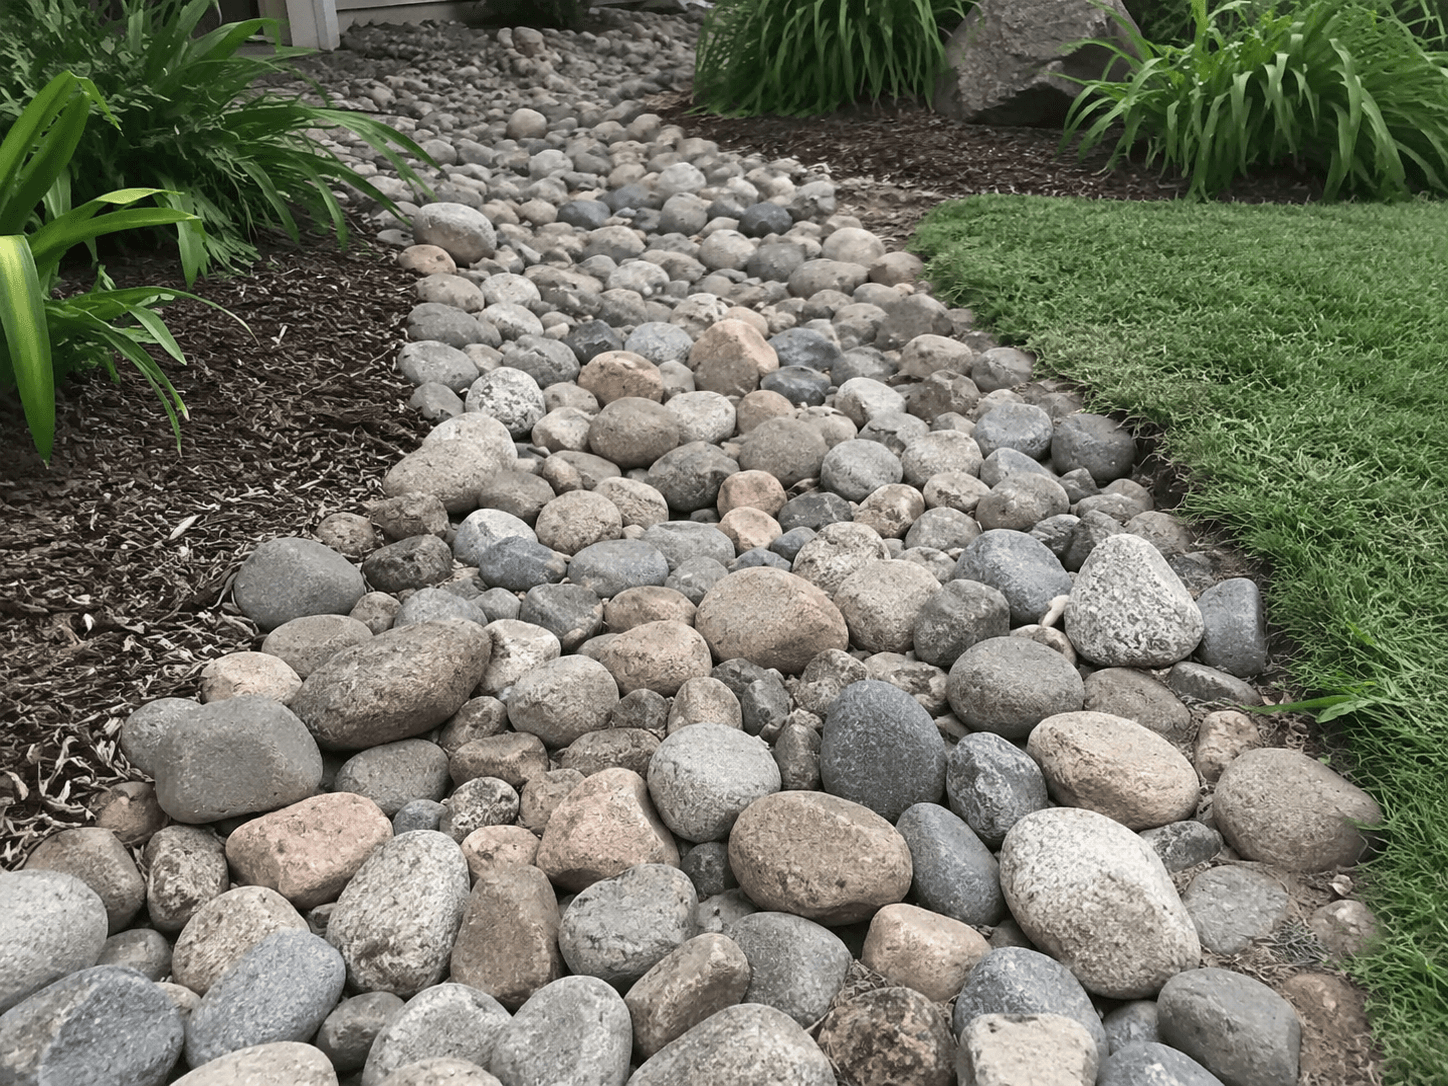
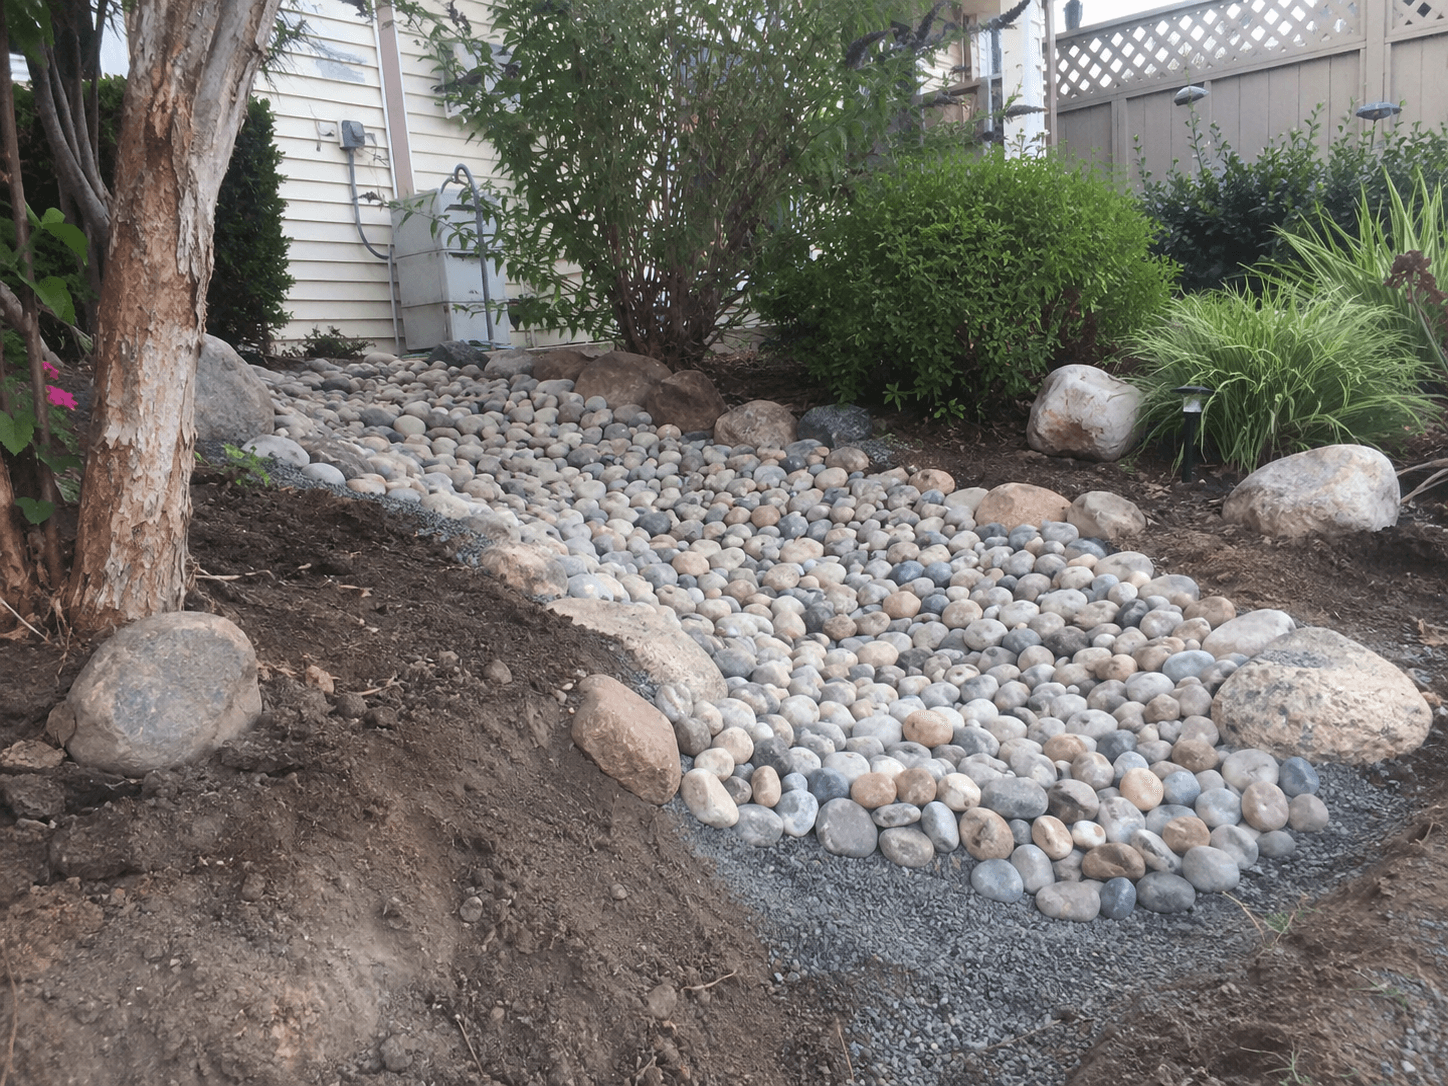
The stone layers. Smaller stones at the bottom for the working drainage layer, mid-sized river rock for the main channel, and larger accent boulders along the edges and at curves. The mix of sizes is what makes a dry creek bed look like a real creek instead of a gravel pit.
The connection points. Where the creek bed starts (usually a downspout outlet, catch basin, or French drain endpoint) and where it ends (a discharge area, rain garden, or daylight outlet) need to integrate cleanly into the rock work. A pipe sticking out of a pile of stone defeats the whole purpose.
Done right, a dry creek bed handles hundreds or thousands of gallons during a storm, then sits there looking like a landscape feature until the next rain.
Stone Selection and Design
The Look Comes From the Rock Choices
The difference between a dry creek bed that looks like a real creek and one that looks like a rock pile dumped in the yard is almost entirely in the stone selection and arrangement. Here's how we think about it:
Base layer. Smaller crushed rock or gravel goes down first, on top of the filter fabric. This is the working layer where most of the water actually flows. Usually invisible once the rest of the stone is placed.
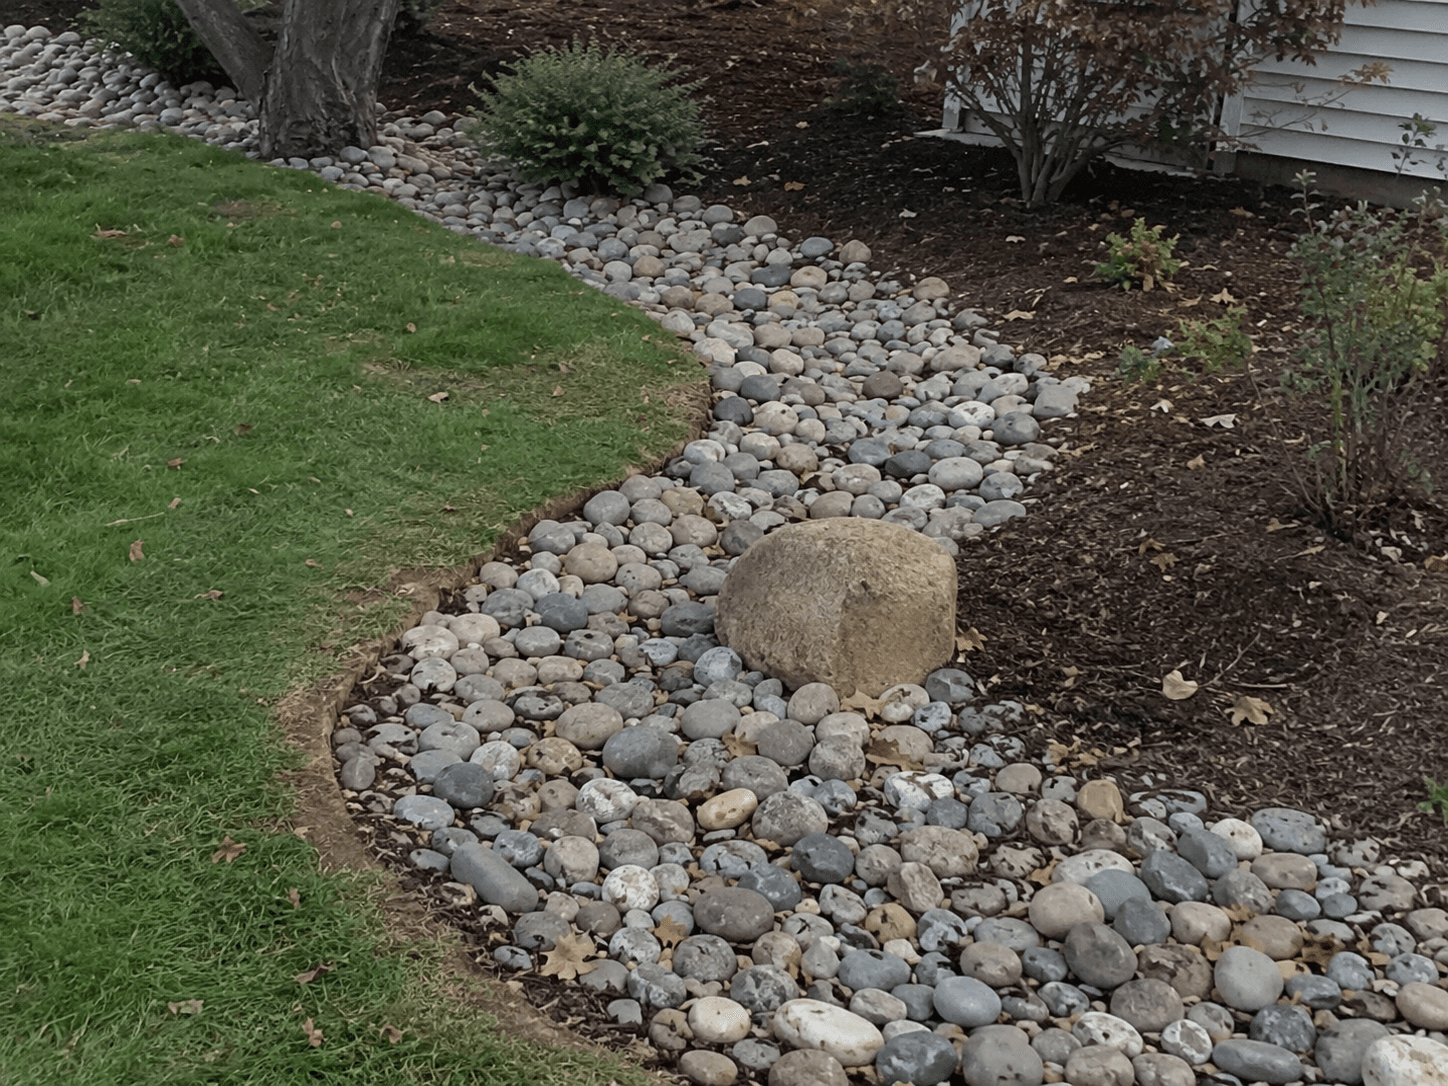
Mid-size river rock. Smooth, rounded stones in the 2 to 5 inch range form the main body of the creek bed. River rock (not crushed rock) is what makes it look natural. Crushed angular stone reads as utility. Round stone reads as creek.
Boulder accents. Larger stones, 8 inches up to 24 inches or more, placed selectively along the edges and at points where the creek bends. These are the visual anchors. We place them by hand, one at a time, the way they'd appear if the creek were natural. Tumbled into a pile is wrong. Set with intent is right.
Edge transitions. Where the creek meets the surrounding lawn or beds, we soften the line. Sometimes with smaller stones tapering down. Sometimes with plantings that drape over the edge. The goal is no hard line between "creek" and "yard."
Optional plantings. Native sedges, ornamental grasses, or moisture-tolerant perennials along the banks. These soften the look and tie the creek into the surrounding landscape. We'll talk through the right palette for your yard.
Color matters too. Lincoln yards tend to look best with stones in the warm gray, tan, and brown range, what reads as native to Nebraska. Bright white or sharp black stone is usually wrong for the region.
Where Dry Creek Beds Work Best
Best Use Cases for a Dry Creek Bed
As the visible portion of a downspout extension. A buried pipe runs from the downspout to the start of the creek bed, then the water emerges and follows the rock to a discharge point. Turns an ugly pop-up emitter into a landscape feature.
Connecting a catch basin or French drain to its outlet. Instead of running buried pipe across a visible part of the yard, we daylight the system into a dry creek bed that carries the water to the final discharge point.
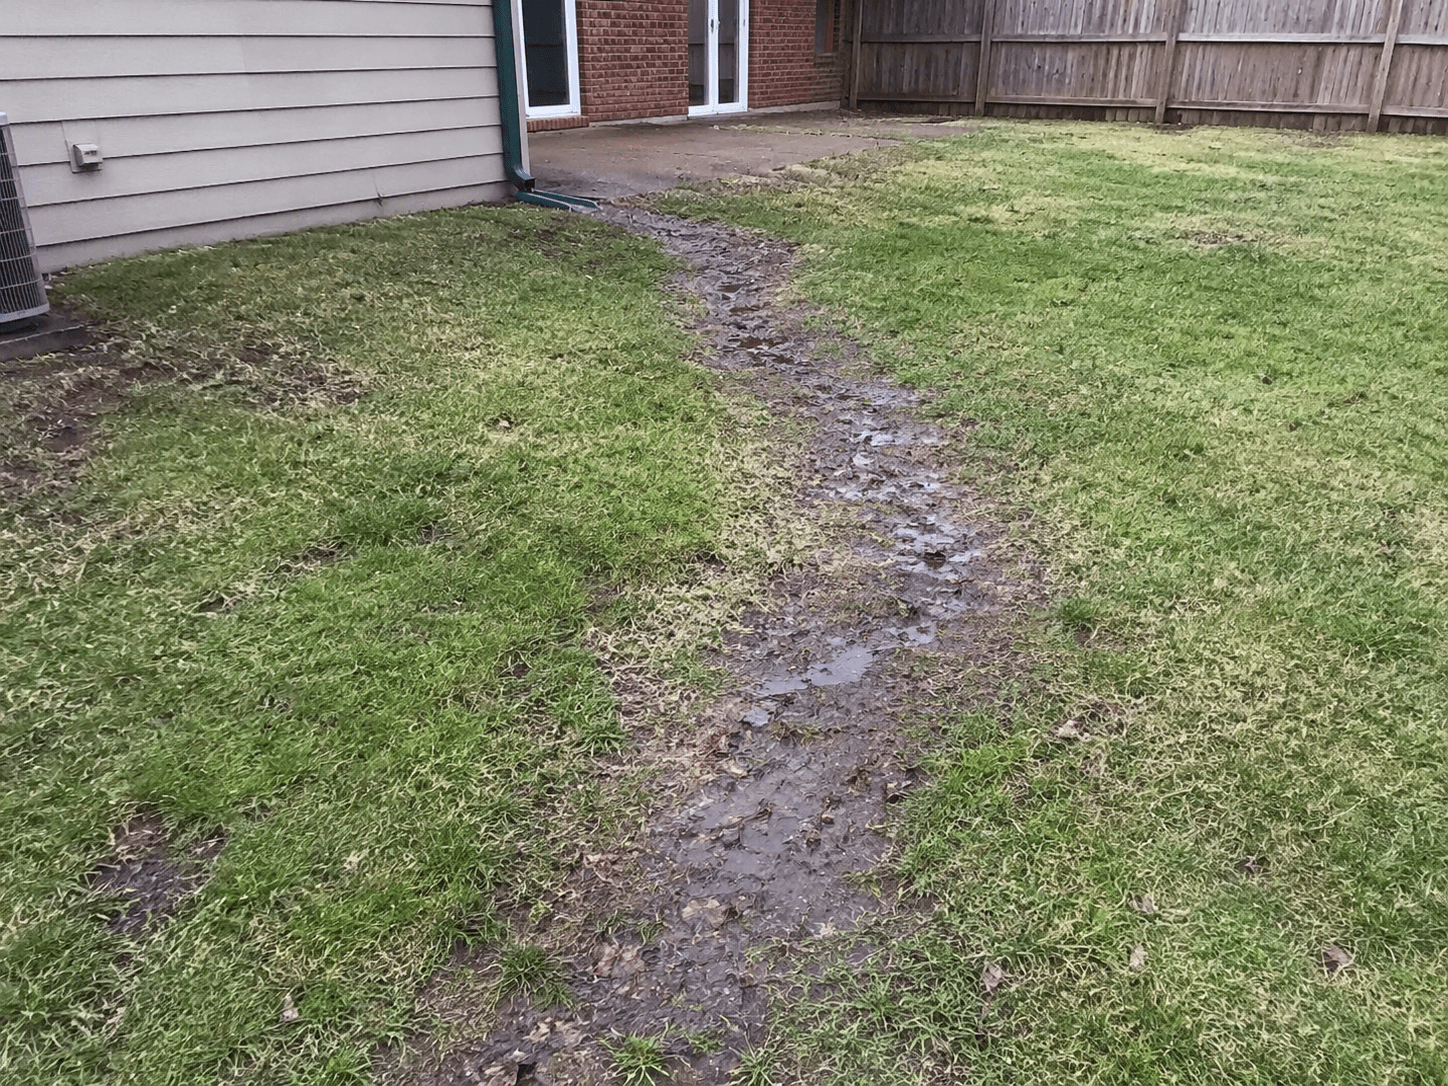
Natural low spots and drainage paths. When water already wants to flow through a specific part of the yard, we work with that path instead of fighting it. A dry creek bed along the natural drainage line makes the path intentional.
Slopes and hillsides. A meandering dry creek bed running down a slope slows water, prevents erosion, and turns a problem grade into a feature. Often paired with terraced plantings on either side.
Between hardscape and lawn. The transition strip between a patio or driveway and the surrounding yard is often a drainage problem area. A dry creek bed in that gap solves the drainage and the visual transition at the same time.
Replacing failed lawn areas. A consistently wet, muddy strip of yard that won't grow grass is a good candidate. Convert it to a dry creek bed and the problem area becomes an asset.
Our Install Process
How a Moku Dry Creek Bed Project Runs
Step 1: Walk the property and plan the route. We look at how water naturally moves, where the start and end points need to be, and what shape the creek should take to fit the yard. We sketch the curve before we cut a single line.
Step 2: Excavate and grade. We strip the sod along the planned route, dig the channel to the correct depth and width, and grade the bottom to consistent slope. This is the structural part of the work, the part that makes the creek actually drain.
Step 3: Fabric, base stone, river rock, boulders. Heavy-duty landscape fabric goes down first, then the stone layers in order. We place boulders by hand for the right look, working in sections and stepping back to check the visual flow as we go.
Step 4: Edge, plant, and clean up. Soften the transitions where the creek meets the lawn, add any plantings that complete the look, and clean up the site. We walk the finished project with you and run water through it to confirm the flow.