Where Paver Projects Add the Most Value
A backyard patio that handles entertaining, grilling, and outdoor furniture
A walkway from the driveway to the front door, side gate, or backyard
A driveway extension or parking pad
A pool deck or surround that has to look good and handle wet feet
A fire pit area or outdoor kitchen base
A connecting path between landscape features (deck to garden, patio to fire pit)
A front entry that needs to make a first impression
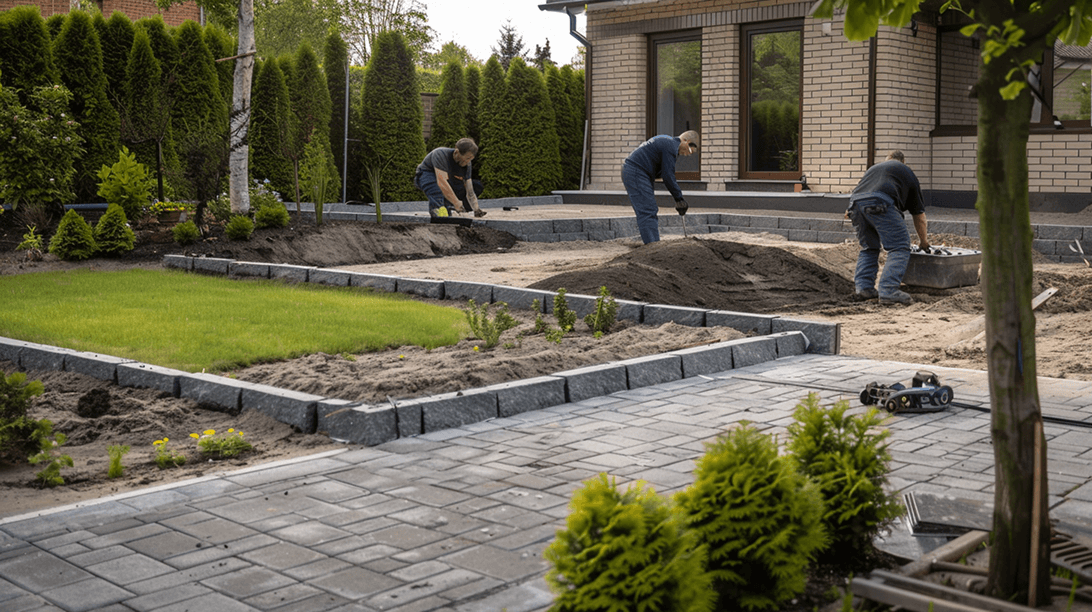
Done right, a paver project lasts 30+ years and improves with age. Done wrong, it sinks, separates, sprouts weeds between joints, and looks worse every season.
What's On This Page
Why Most Paver Projects Fail (and How We Avoid It)
Paver Materials and Patterns
Common Paver Projects
Our Process
FAQs
Why Most Paver Projects Fail (and How We Avoid It)
The Difference Between a Paver Patio That Lasts 30 Years and One That Fails in 3
Drive through any Lincoln neighborhood and you'll see paver patios that have sunk, tilted, separated, or sprouted weeds between every joint. Most of these patios weren't built badly on day one. They failed for the same reasons most hardscape fails: shortcuts on the base, missing edge restraints, and the wrong joint sand.
The base. A paver patio needs 6 to 8 inches of compacted aggregate base below the pavers, installed in lifts (layers) and compacted to a specific density. Without this, the pavers settle into the soil. With it, they stay flat for decades. The base is the single most important part of the install, and the part you can't see when you're done.
Edge restraint. The pavers need a hard edge around the perimeter to keep them from spreading over time. We use polymer or aluminum edge restraint pinned into the base. Without it, the pavers slide outward year by year and the patio loses its shape.
Polymeric sand in the joints. The sand between pavers isn't just decorative. Polymeric sand locks the pavers together and resists weed growth and washout. Regular sand washes out in heavy rain and lets weeds take root. The difference is 5 to 10 years of maintenance work avoided.
Proper slope for drainage. Pavers need to be installed at a slight slope (usually 1/8 inch per foot) so water sheets off rather than pooling. A perfectly flat patio holds water, which leads to algae growth, freeze damage, and a slippery surface. Slope is invisible to the eye but critical to longevity.
When we install pavers, the visible surface is maybe a third of the work. The base, edge restraint, drainage planning, and base prep are the other two-thirds, and they're what determine whether the patio looks great in 30 years or has to be redone in 5.
Common Paver Projects
Paver Categories
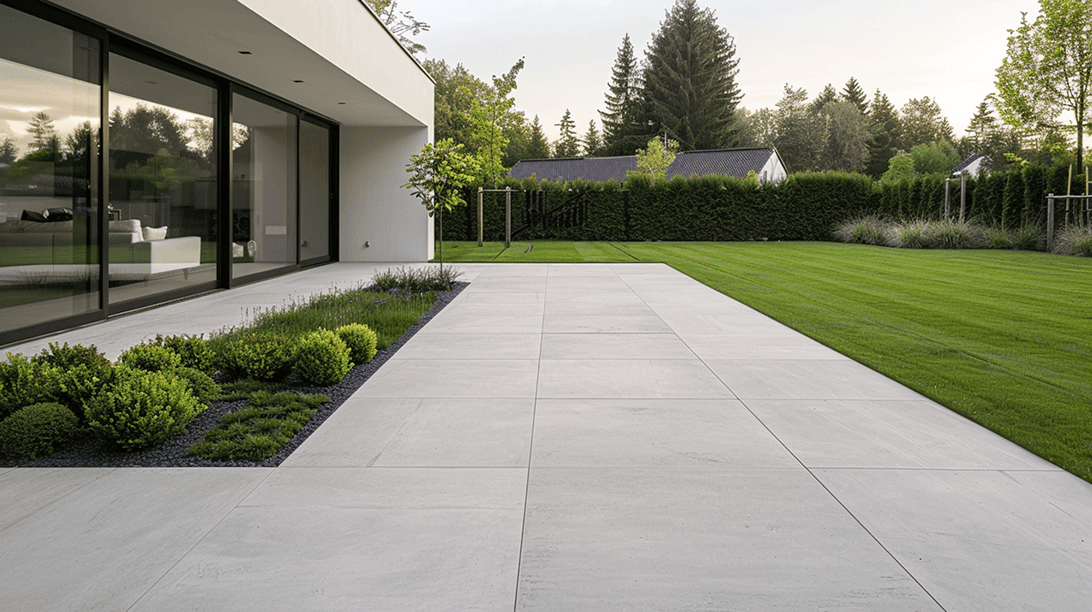
Concrete pavers. Manufactured concrete pieces, available in dozens of colors, textures, sizes, and shapes. Most cost-effective option for serious paver work. Major brands include Belgard, Unilock, and Pavestone. We use a mix depending on what the client wants. Lifespan is 30+ years.
Tumbled concrete pavers. Same as standard concrete but with the edges rounded and surface aged for an antiqued look. Right for clients who want a more rustic or old-world feel. Slightly higher cost than standard.
Permeable pavers. Designed with built-in gaps that let water drain through the patio surface into a base below, useful for properties with drainage concerns, stormwater regulations, or where you want to keep water on the property instead of sheeting off. Functionally equivalent to standard pavers visually, but solve a drainage problem at the same time.
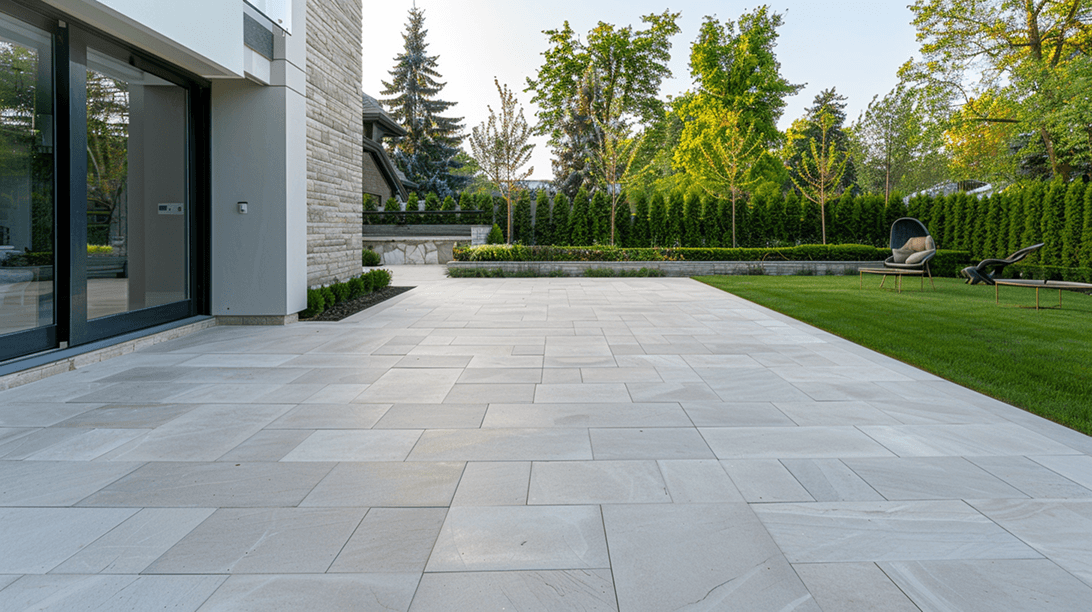
Natural stone pavers. Flagstone, bluestone, travertine, or limestone cut into paver-style pieces. Most beautiful and most expensive. Each stone is slightly different so the install takes longer, and the result looks completely different from manufactured product.
Patterns and layouts.
The pattern affects both look and structural performance. Running bond (offset like brick) is the most common, looks clean and traditional. Herringbone is stronger because the pieces interlock at 90 degrees, used for driveways and high-traffic areas. Basketweave looks formal, right for entryways. Random ashlar mixes paver sizes for a designed-but-organic look. We'll show you patterns at scope, not after install.
The edge detail matters too. A clean cut around the perimeter with a contrasting border (called a soldier course) is the most refined look. A simple bullnose or rounded edge works for casual settings. The edge is the part the eye lands on first.
Paver Materials and Patterns
Paver Projects We Handle
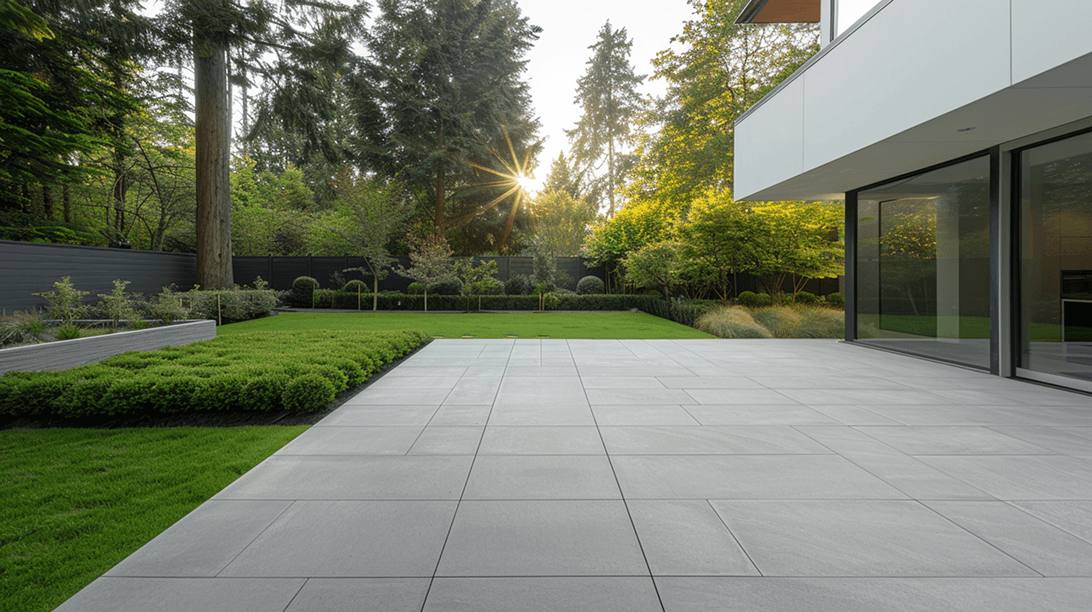
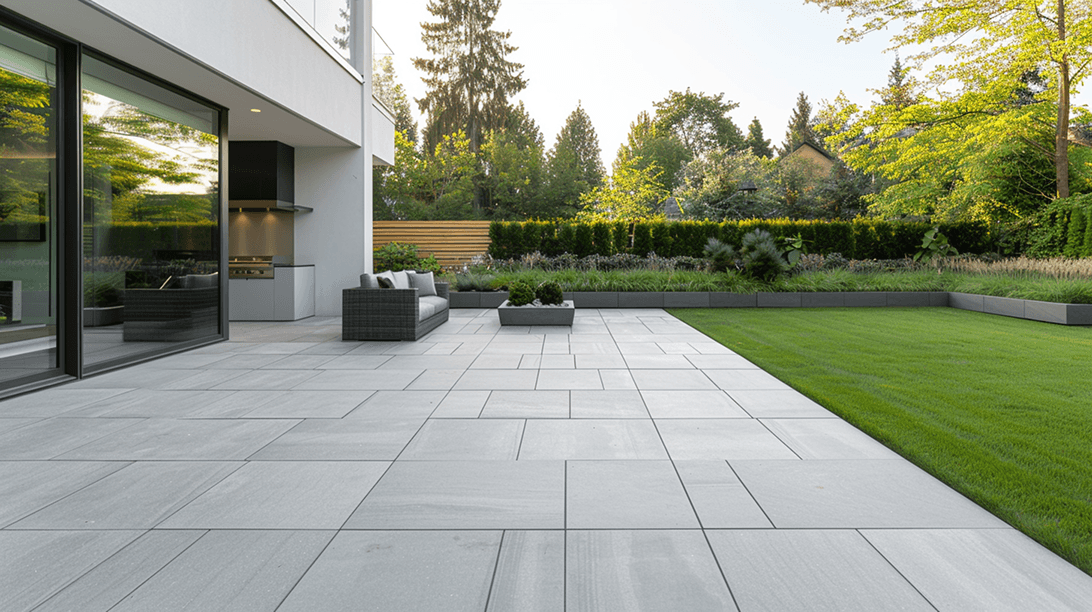
Backyard patios. The classic install. Family entertaining space, grill zone, outdoor furniture area. Sized to the homeowner's use, from small intimate spaces to large multi-zone patios with built-in features.
Front walkways. From driveway to front door, or from sidewalk to porch. Often the first hardscape impression of the home. Worth investing in good paver and a clean border detail.
Side path walkways. From front to back yard, often through narrow side yard space. Solves the worn dirt path problem and finishes off the property edges.
Driveway extensions and parking pads. Pavers can handle vehicle traffic with proper base prep. Right for additional parking, RV pads, or driveway widening. Stronger structurally than a traditional asphalt or concrete pour.
Pool decks. Around in-ground or above-ground pools. Pavers don't get hot like dark concrete, drain naturally, and don't crack from pool chemicals. Always paired with proper base drainage.
Fire pit and outdoor kitchen surrounds. The patio area immediately around a fire feature or outdoor cooking area. Heat-resistant paver options, scaled to function.
Connecting paths. Between distinct landscape features (patio to fire pit, fire pit to garden, deck to patio). Ties the outdoor space together visually.
Most paver projects we do are some combination of the above. A typical backyard rebuild includes a main patio, a walkway, and a fire pit area in matching paver, designed as a single coordinated space.
Our Process
How a Moku Paver Project Runs
Step 1: Design walkthrough. Walk the property, talk about how the space will be used, look at access, drainage, and existing landscape. Sketch layouts, dimensions, and pattern options. Pick paver material and color.
Step 2: Design and quote. Detailed quote includes excavation, base material, paver material, edge restraint, polymeric sand, drainage details, and labor. Quote also identifies anything else we might need to do (regrading, drainage, removing existing concrete). We share before any work begins.
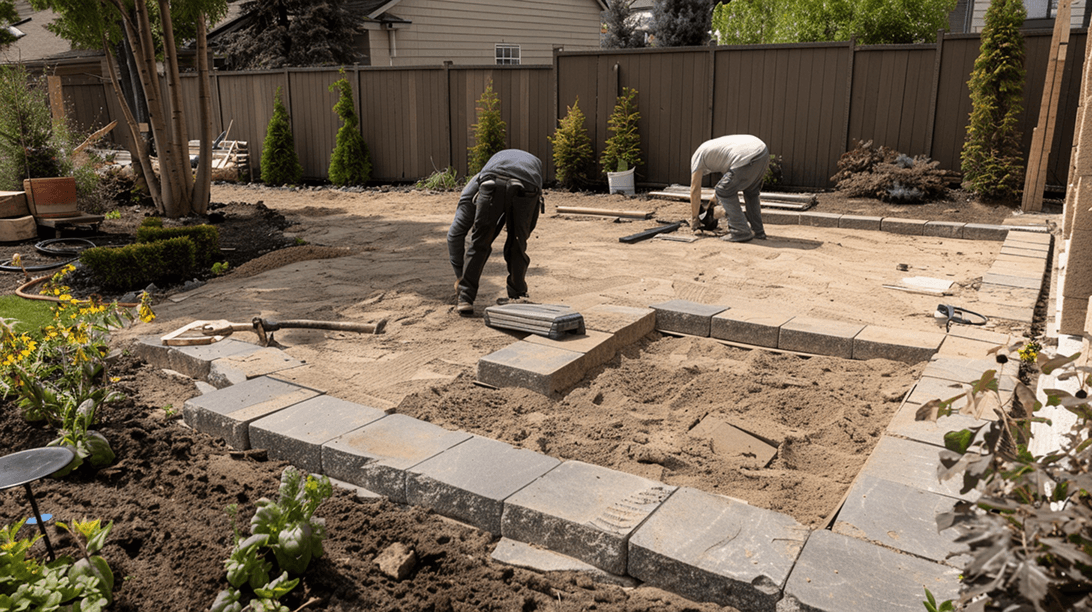
Step 3: Excavate and prep the base. Dig out to the proper depth (6 to 8 inches below finished height for patios, more for driveways), install and compact aggregate base in 2-inch lifts, install edge restraint, and screed a leveling sand bed.
Step 4: Lay pavers, cut edges, finish. Place pavers according to the chosen pattern, cut edges with a wet saw for clean perimeter detail, install border or soldier course if specified, and compact the entire surface with a plate compactor. Polymeric sand goes into the joints last and gets activated with water.
Step 5: Final inspection and walkthrough. Clean the surface, restore disturbed surrounding turf or beds, and walk the finished project with you. We confirm the slope, drainage, and finished height match plan. Most residential paver projects take 4 to 10 days depending on size.