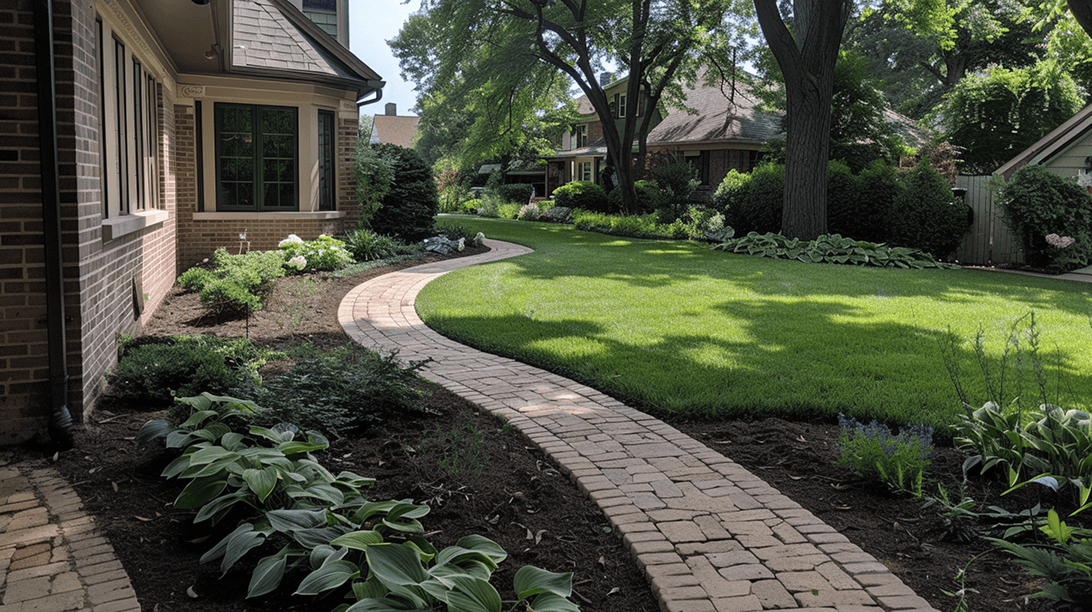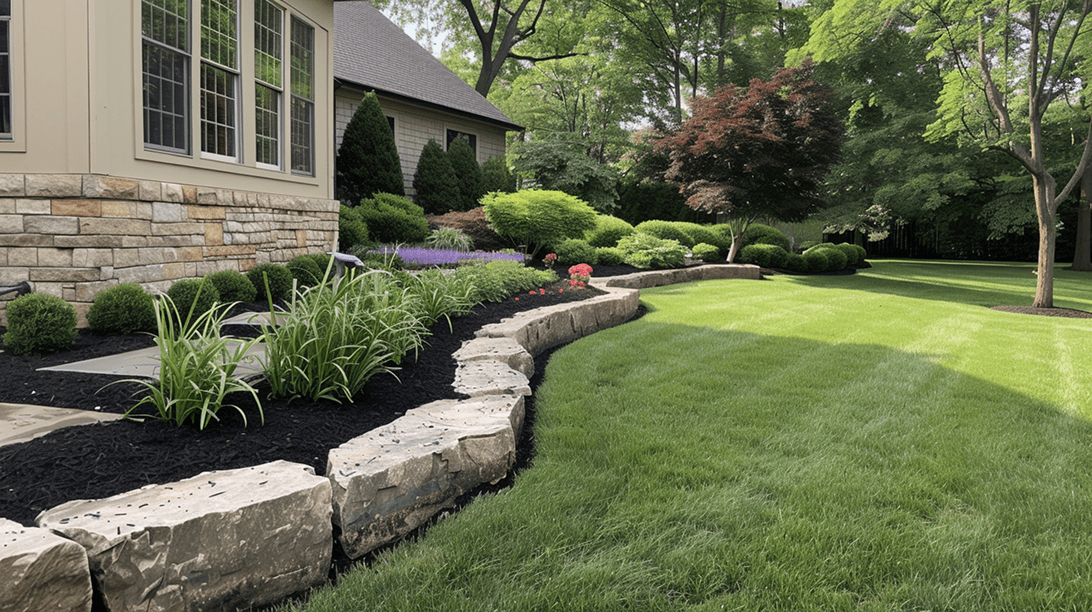
The Detail That Pulls a Yard Together
Mulch washing or migrating from beds into the lawn after every rain
A wavy, ill-defined edge between lawn and bed that's hard to mow cleanly
Grass creeping into landscape beds and gravel areas
Stone or gravel mixing into adjacent lawn over time
A property that looks unfinished even after planting and mulching
Driveway or path edges where stone migrates into the lawn
Tree wells where mulch washes out or grass invades the root zone
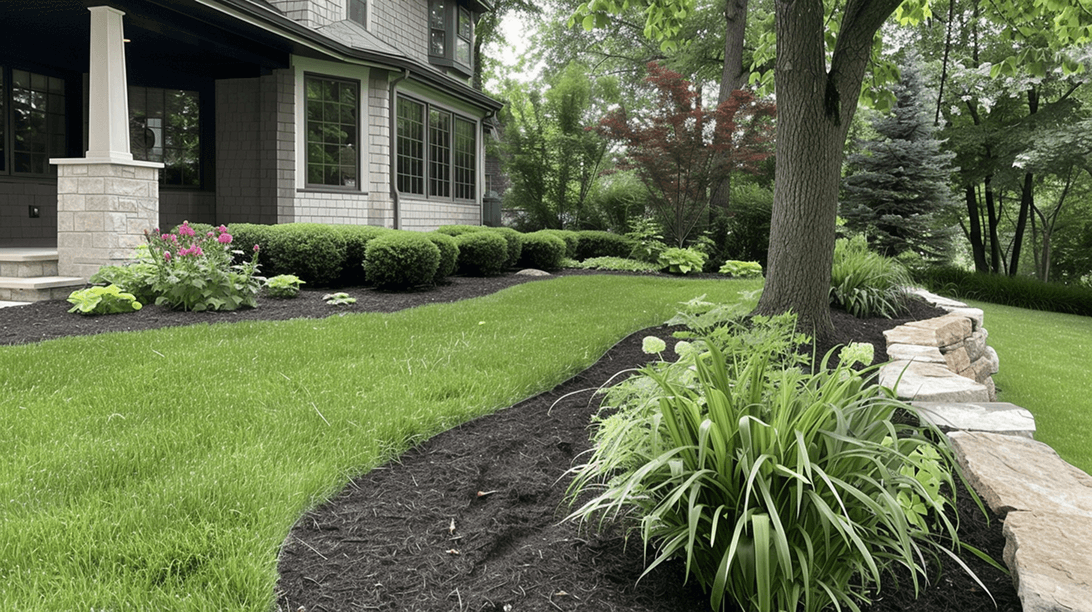
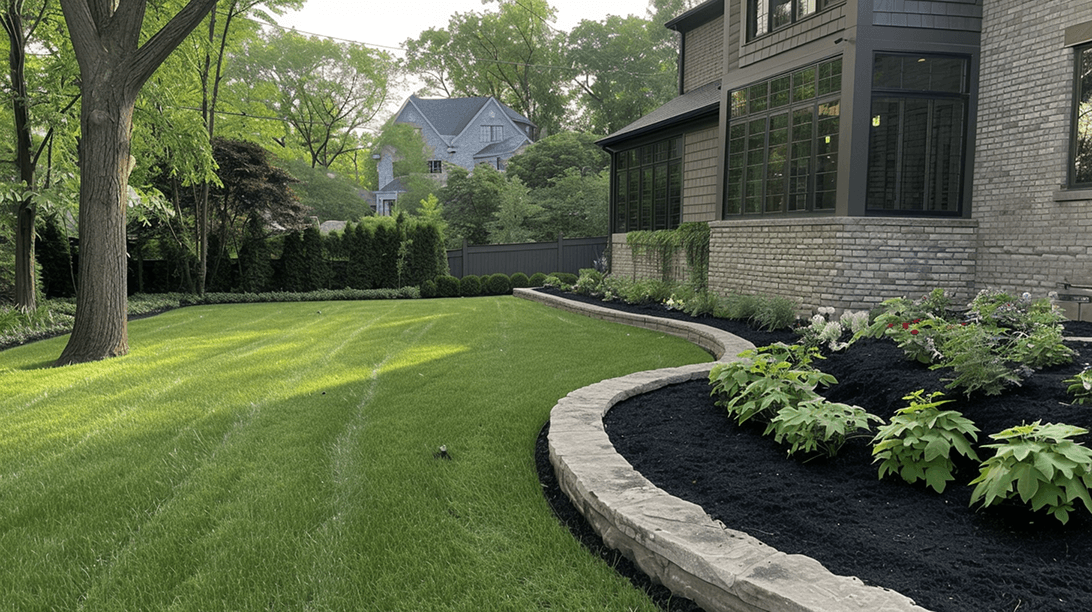
A proper edge is the punctuation mark of a landscape. Without it, even nice plantings and fresh mulch look unkempt. With it, the whole property reads as cared for.
What's On This Page
Why Borders Matter More Than People Realize
Edging Materials
Border Applications
Our Process
FAQs
Why Borders Matter More Than People Realize
Borders Do More Than Look Good
It's easy to think of edging as decorative. A nice clean line around your beds, sure, but how important can a metal strip really be? Turns out: surprisingly important. A proper landscape border does three structural jobs that most homeowners don't realize.
Containment. Mulch, gravel, and bed material want to migrate. Every rain, every wind, every step on the edge sends some bed material into the lawn. Over a year, that's hundreds of pounds of mulch ending up in places it shouldn't. A proper border traps the material where you want it.
Root barrier. Lawn grass sends runners (rhizomes) sideways into adjacent beds, where they grow up through the mulch and turn your beds back into lawn. Without a border, you'll spend an hour a week pulling grass out of every bed. With a 4-inch edge sunk into the soil, the grass runners can't cross the line.
Visual definition. Even a beautifully designed landscape looks scruffy without a defined edge. The border tells the eye where one zone ends and the next begins. A property with crisp edges reads as cared for. A property with fuzzy, undefined edges reads as neglected, even if the actual plantings are identical.
The best edging installations are visible enough to do their job but quiet enough to disappear visually. A homeowner looking at the finished work shouldn't be thinking about the metal strip, they should be thinking about how the property looks more put-together than it did before. That's the trick. Good borders are noticed by their absence, not their presence.
Edging Materials
The Material Decision
The right edging depends on the look you want, the maintenance you're willing to do, and the budget you're working with. Here's the honest breakdown of what we install most often:
Steel edging. Heavy-duty 1/8 inch thick steel, usually 4 to 6 inches tall. Installed flush with the lawn so the mower can roll right over it. Lasts decades, holds a perfect line, develops a subtle weathered patina over time. Most cost-effective option for a clean professional look. The workhorse of residential edging.
Aluminum edging. Similar to steel but lighter, easier to bend for tight curves, and doesn't rust. Slightly more expensive than steel. Right for curved beds, organic shapes, or properties where weathered steel doesn't fit the aesthetic.
Paver edging. Single-row paver border (often the same paver used in adjacent hardscape). Visible above the lawn or set flush. Most expensive option and most labor-intensive to install, but the most refined look. Used as a design element rather than just a functional edge.
Concrete curbing. Poured-in-place concrete border, formed into a clean low curb around beds and tree wells. Looks formal and permanent. Limited in shape flexibility, but holds up indefinitely. Right for properties with established design language.
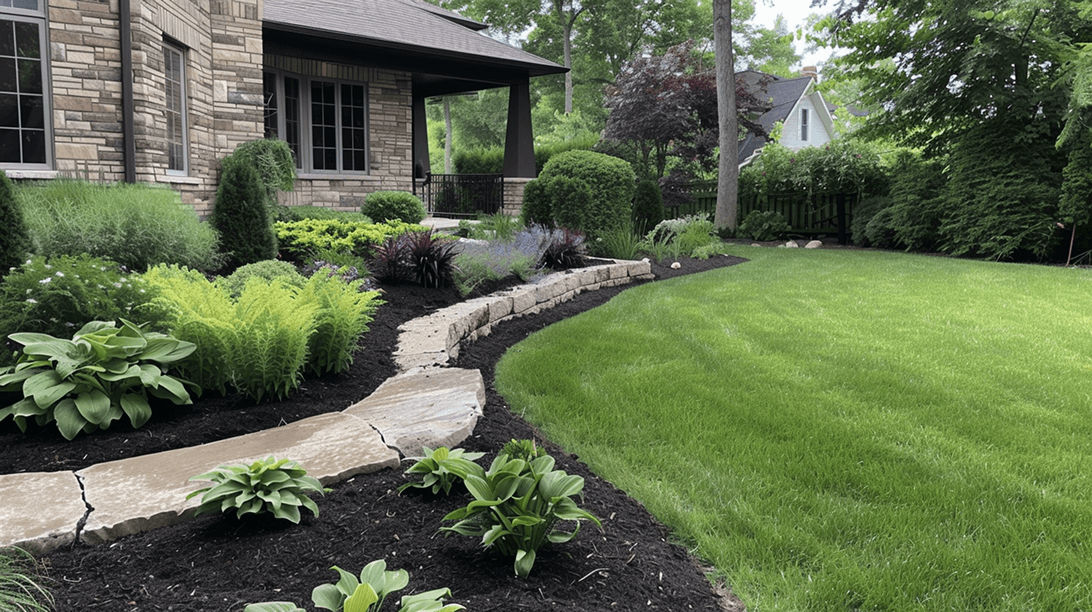
Cobble and stone edging. Hand-set stones, usually fieldstone or cobblestone, lined along the bed edge. Rustic, traditional look. Right for natural-style gardens or cottage landscapes.
Plastic edging. What we'd usually talk you out of. Heaves out of the ground in winter, cracks in summer sun, and rarely lasts more than 3 to 5 years. The most common DIY material, and the most common reason borders need to be redone.
We match the material to the property. A formal front yard probably wants steel or paver. A casual cottage garden probably wants stone or cobble. We'll walk through what makes sense for your space before quoting.
Border Applications
Where Borders Earn Their Keep
Around landscape beds. The most common application. A clean line where mulch meets lawn, holding the mulch in and grass out. Steel or aluminum is the standard here.
Tree wells. A defined circle of mulch around each tree, with edging holding the line. Protects the trunk from mower damage, keeps mulch from washing out into the lawn, and gives mature trees a finished look.
Foundation plantings. The strip of beds running along the house. Often the most visible bed line on the property. Worth investing in good edging here because the eye lands on it constantly.
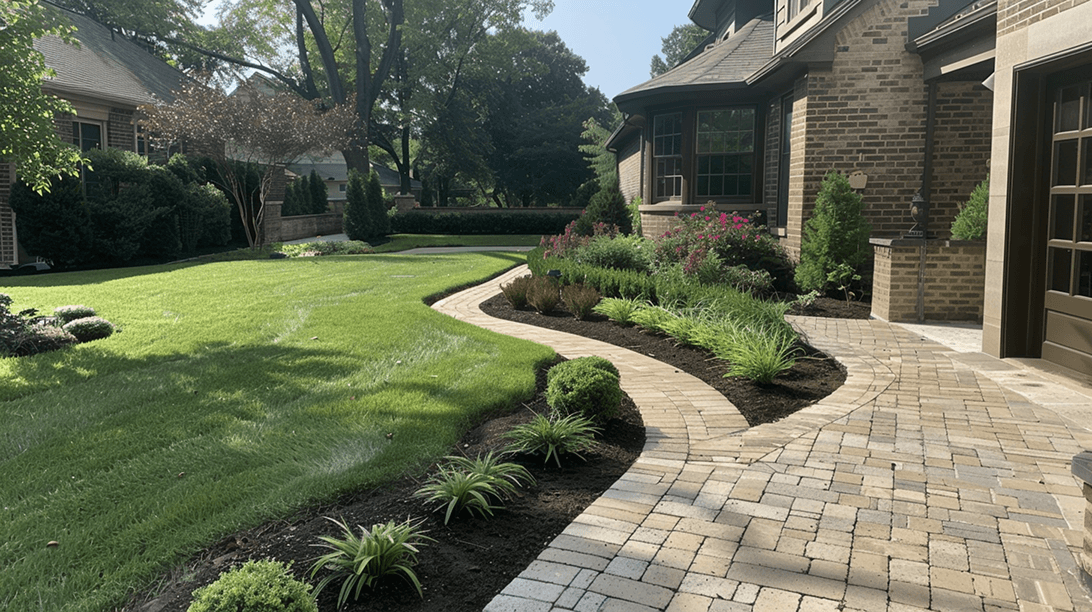
Walkway edges. Where a path meets the lawn or beds. Holds the path material in place and gives the walkway a defined boundary. Often paired with paver or stone material that matches the walkway.
Driveway edges. Where gravel, asphalt, or concrete driveways meet the lawn. Prevents migration into the lawn and gives the driveway a clean property-line feel.
Garden bed dividers. Within larger garden areas, edging can separate distinct zones (vegetable garden from perennials, formal area from wild area). Especially useful for properties with multiple garden styles.
Property line definition. Where the planted yard meets a neighbor's property, a natural area, or undeveloped land. A subtle line that says "the kept yard ends here."
We also do border refresh work, replacing or resetting failed edging on existing properties, redefining bed lines that have grown crooked over the years, and adding edging to beds that were installed without it.
Our Process
How a Moku Border Project Runs
Step 1: Walk the property and identify where borders go. Some properties need a single bed defined. Others need every bed, tree well, and driveway edge reworked. We measure the linear footage, talk through material options, and identify any bed lines that should be reshaped while we're at it.
Step 2: Quote the work. Quote includes material, edging length, stakes, labor for trenching and installation, and any bed reshaping. For larger projects, we phase the work so you see costs by zone.
Step 3: Cut and prep the edge. Run a clean trench along the bed line using a power edger or hand work for tight curves. Remove any sod or weeds that have crossed the line. Establish the final bed shape if we're reshaping.
Step 4: Install the edging. Set the edging in the trench, drive stakes through pre-drilled holes (or position pavers in a screeded sand bed for paver borders), and backfill against the edging on both sides. Make sure the top of the edging is flush with the lawn so mowers can pass over.
Step 5: Restore and finish. Top off mulch in adjacent beds, restore turf along the lawn side, and walk the project with you. Most residential border installs take 1 to 2 days depending on linear footage.