When a Property Needs Regrading
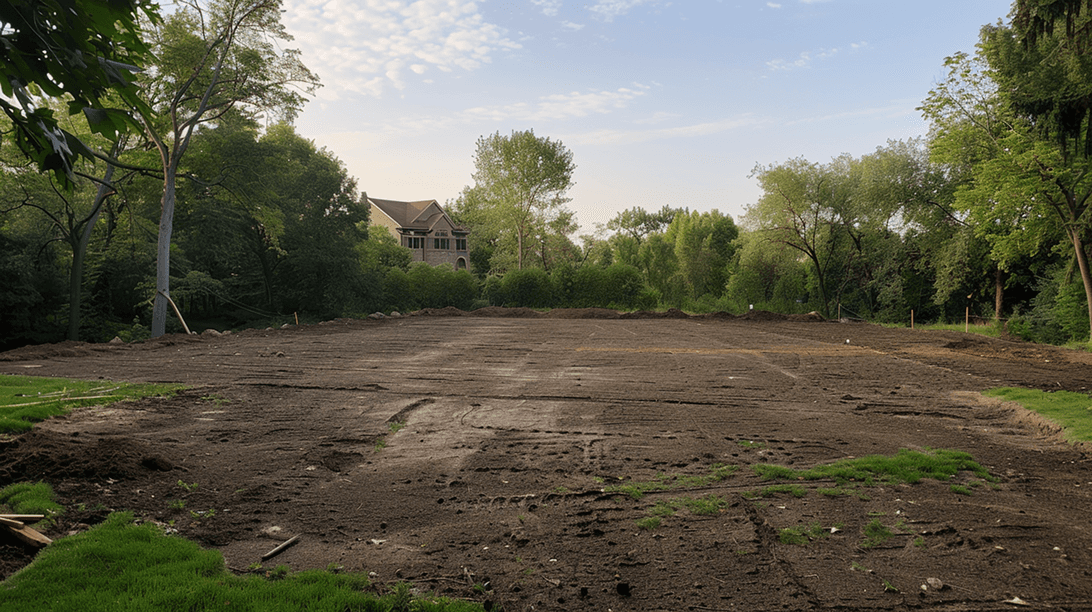
New construction with a flat builder grade that needs reshaping before lawn or landscape goes in
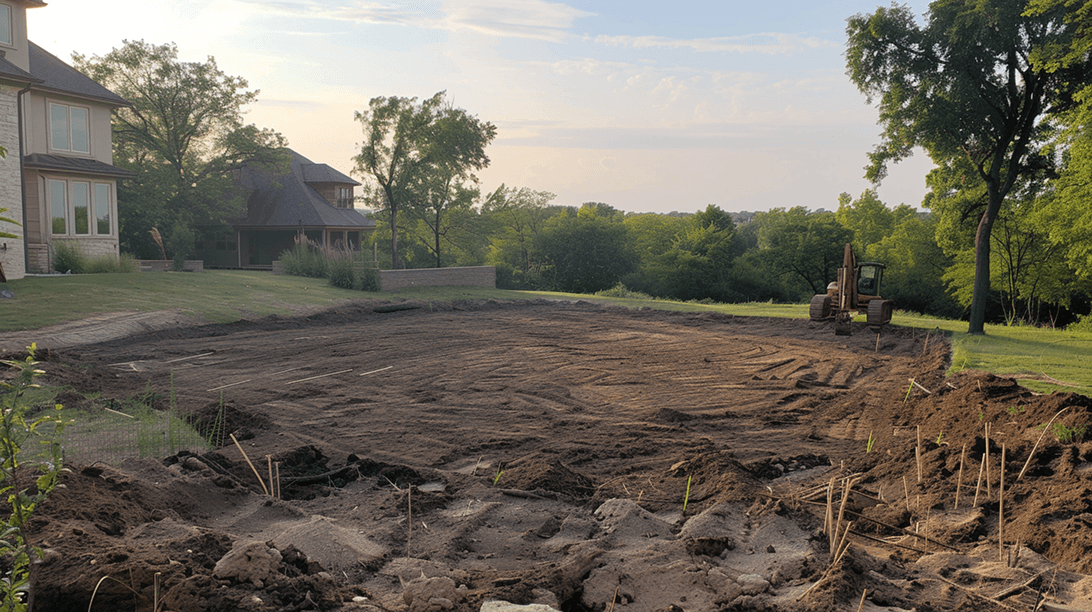
A property with low spots, depressions, or ponding areas that hold water after rain
Soil that slopes the wrong direction (toward the foundation, garage, or basement entry)
A yard that's too steep to mow comfortably, where terracing or grade reduction makes sense
A landscape project where the existing grade needs adjustment before plantings, beds, or hardscape go in
An older property where settling, erosion, or past projects left an uneven surface
Grading is the silent foundation of every other landscape investment. Get it right and the rest of the property works. Get it wrong and everything else fights against the grade for the next 30 years.
What's On This Page
Why Grading Is Almost Always the Right First Step
How We Approach a Regrade
Common Grading Projects
Our Process
FAQs
Why Grading Is Almost Always the Right First Step
Grade Is the Invisible Foundation
Every landscape sits on top of a grade. The plantings, hardscape, lawn, and drainage all depend on the underlying shape of the ground. When the grade is right, everything else works without constant intervention. When the grade is wrong, every other system has to compensate.
What good grade actually does:
Moves water away from buildings. The IRC (International Residential Code) standard for residential lots is 6 inches of fall over the first 10 feet from the foundation. That's a 5% slope. Most older Lincoln properties have lost this slope to settling, soil migration, or poor original construction. A properly graded yard puts water at the foundation back where it belongs: out in the lawn, headed for the storm system.
Eliminates standing water and ponding. Low spots that hold water after rain kill grass, breed mosquitoes, and create persistent muddy zones. Most can be eliminated with relatively minor regrading rather than installing drainage pipes. The simplest fix for a soggy yard is often a regrade, not a drainage system.
Sets up everything else to succeed. Lawn establishes faster on properly graded soil. Plants don't drown or dry out. Hardscape (patios, walkways) drains properly. Mulch stays put. Mowing is easier. The grade is doing work for every other element on the property.
Why most yards have grade problems:
Most new construction in Lincoln is graded by builders to the minimum standard, just enough to get past inspection. As soil settles over the first few years, the original grade often disappears. Mature properties accumulate decades of changes (additions, hardscape, plantings) that disrupt the original drainage patterns. By year 20, most properties have at least one grade problem worth addressing.
Grading is also one of the highest-value services we offer because of how much it sets up. A property with proper grade can take the next 5 to 10 years of landscape investments and have them all work. A property with bad grade fights against everything else.
How We Approach a Regrade
How We Approach a Regrade
Every grading project starts with measurement. Eyeballing slopes is how grading projects go wrong. The actual numbers are what matter.
Step 1: Read the grade. Use a laser level or surveyor's transit to map existing elevations across the property. Identify where water currently flows, where it ponds, where it should be going. Walk the property after rain whenever possible.
Step 2: Set target grades. Foundation perimeters get the IRC standard: 6 inches of fall over the first 10 feet (a 5% slope). Beyond that, slopes can be gentler (1 to 2% is plenty). Identify the drainage exit points where water needs to leave the property.
Step 3: Calculate cut and fill. Figure out where soil needs to be removed (high spots) and where it needs to be added (low spots). For most yards, we can balance cut and fill internally. For bigger reshapings, we haul in or out as needed.
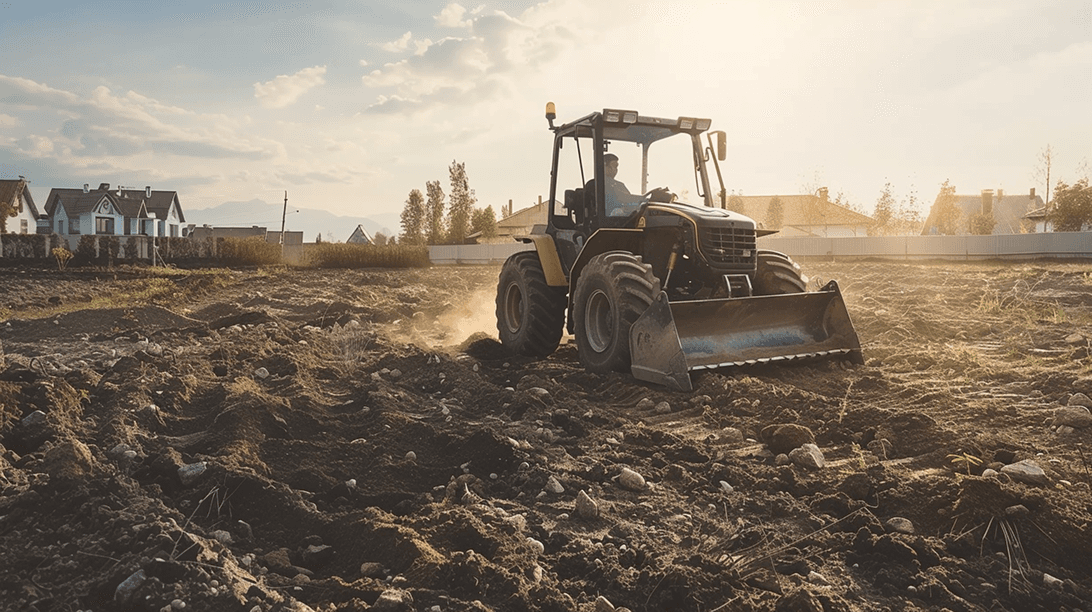
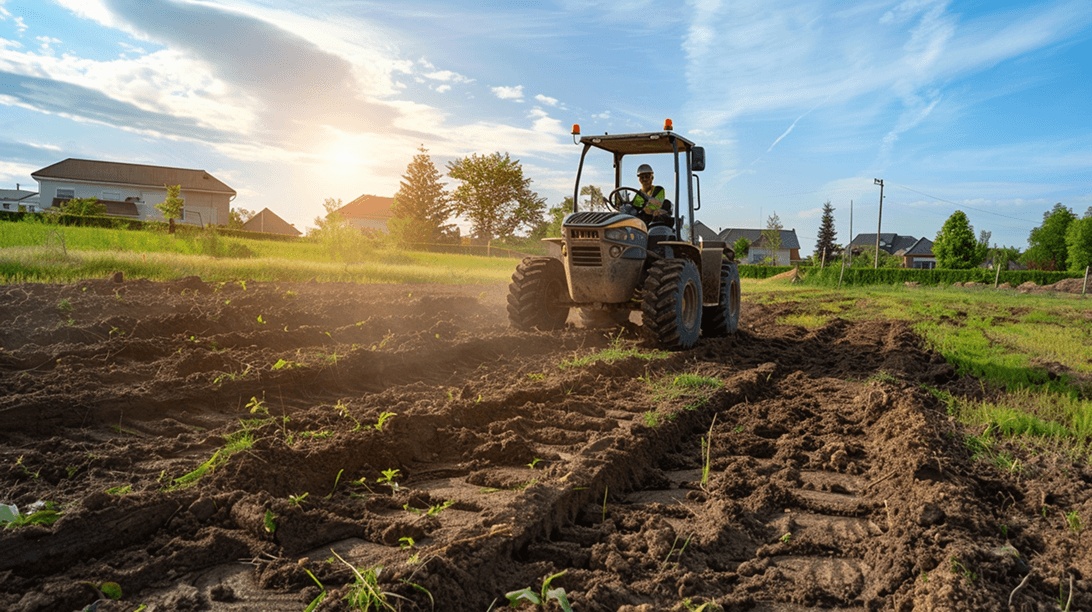
Step 4: Move the soil. Skid steer with bucket and grading box for large areas. Hand work for tight spots and near foundations. Always working from the established target grades, not from intuition.
Step 5: Compact and finish. Compacted soil holds the grade. Loose soil settles over the first season and the grade migrates. We compact in lifts (layers) for any significant fill work, then finish-grade by hand for the planting surface.
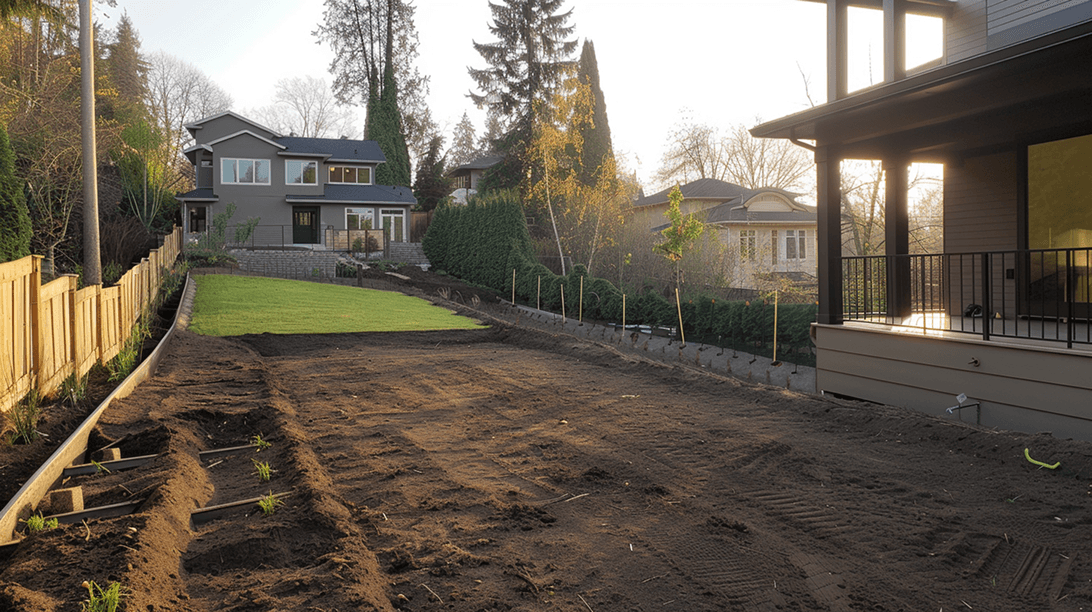
Step 6: Restore. Topsoil and compost worked into the surface, then sod or seed depending on the next step. A regrade that's left bare is a recipe for erosion. Stabilization happens immediately, not later.
The difference between professional grading and DIY grading isn't the equipment. It's measuring, hitting target grades exactly, and compacting properly. The work is methodical, but the result is a yard that drains correctly for decades.
Common Grading Projects
Typical Grading Projects
Foundation regrades. Restoring positive slope away from the house. Often the most important single grade project for older homes. Pairs with our drainage work for properties where settling has pushed water back toward foundations.
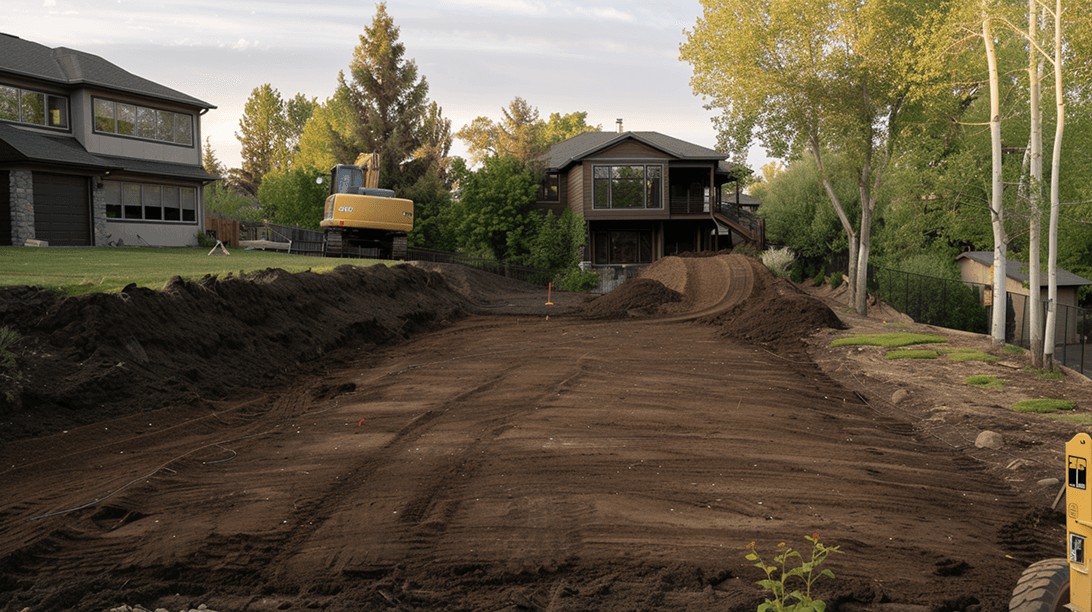
New construction touch-up. Reshaping rough builder grades into landscape-ready surfaces before sod, plantings, or hardscape goes in. Builder grades are usually rough and not optimized for finished landscape function.
Whole-yard regrades. Wholesale reshaping of a property to fix accumulated drainage problems, eliminate low spots, and create the foundation for a comprehensive new landscape. Bigger projects that often combine with drainage installation.
Low-spot fill. Specific zones where water ponds after rain. Identify the low point, fill with appropriate soil, regrade the surrounding area to drain into the lawn. Faster than installing drainage and works for most minor low spots.
Slope reduction or terracing. Properties that are too steep to mow or use comfortably. Terracing creates flat usable zones separated by retaining walls (pairs with our retaining wall service). Slope reduction redistributes soil to create gentler grades.
Swale creation. Shallow drainage channels cut into the landscape that route water from high points to safe discharge points. Pairs with our drainage work but is fundamentally a grading project.
Pre-hardscape grading. Before a patio, walkway, driveway, or other hardscape goes in, the underlying grade needs to be set correctly. We grade the area in coordination with the hardscape install so the finished surface drains and sits correctly.
Pre-planting grading. Before new beds, lawns, or planting areas go in, the surface gets regraded for proper drainage and finished elevation. Saves replanting work later.
Most grading projects we handle are part of a larger landscape project. Pure grading work without surrounding context is rare. The grade exists to support what comes next, and we approach it that way.
Our Process
How a Moku Grading Project Runs
Step 1: Walk the property and read the grade. Use a laser level to map existing elevations, watch the property after rain whenever possible, and identify the problem areas (low spots, wrong-direction slopes, ponding zones).
Step 2: Design the target grade. Set the new slopes around the foundation (6 inches over 10 feet), identify drainage exit points, plan swales or contour changes, and calculate cut/fill volume. Share the plan with the client before any work starts.
Step 3: Execute the regrade. Skid steer with bucket and grading box for large area work. Hand work for tight spots and detail. Compact significant fill in 4 to 6 inch lifts. Work from the established target grades.
Step 4: Finish and stabilize. Top with topsoil and compost worked into the surface, fine-grade by hand for the finish layer, immediately install sod or seed (or coordinate with the next phase of work).
Step 5: Walk and inspect. Confirm the finished grade with the laser level. Hand the property back to you knowing exactly what was changed and why. Most residential regrades take 2 to 5 days depending on the volume of soil being moved.